Using a Continuous Positive Airway Pressure (CPAP) machine is one of the most effective ways to manage sleep apnea, a respiratory condition where breathing repeatedly stops and starts during sleep. However, the effectiveness of your therapy depends heavily on the condition of your equipment. Over time, the silicone, plastic, and elastic parts of your machine naturally degrade. Oils from your skin, moisture from the humidifier, and ambient dust in your bedroom all contribute to the wear and tear of your device. To ensure you are receiving the clean, pressurized air your body needs, following a consistent cpap replacement schedule is essential for your health and comfort.
Many patients and family caregivers do not realize that CPAP parts are designed to be temporary. Waiting until a part breaks, tears, or stops working entirely can compromise your therapy and even expose you to bacteria, mold, or allergens. According to the National Institutes of Health (NIH), keeping medical equipment clean and replacing parts on time is a key factor in preventing respiratory infections and maintaining overall treatment compliance. This comprehensive guide will walk you through when to replace each component, how to inspect your supplies, and step-by-step instructions for maintaining your equipment at home.
Why Regularly Replacing CPAP Supplies is Crucial
It is easy to assume that if a CPAP mask looks clean, it is still functioning perfectly. However, microscopic changes in the materials can have a major impact on your therapy. Here is why staying on top of your replacement schedule is so important:
- Maintaining a Secure Seal: The cushions on your mask are made of soft silicone. Over time, facial oils break down this silicone, causing it to become soft, slippery, or stiff. When this happens, the mask cannot maintain a tight seal against your face. Air leaks can occur, which means you may not receive the prescribed air pressure needed to keep your airway open.
- Preventing Skin Irritation: As silicone degrades, it becomes more porous. These tiny pores can trap bacteria, facial oils, and dead skin cells. This buildup can cause skin irritation, redness, acne, or even sores where the mask touches your face.
- Protecting Your Lungs: Your CPAP machine draws in surrounding room air, filters it, and delivers it directly to your lungs. If your filters are dirty or your tubing is old, you may breathe in dust, pollen, pet dander, or mold spores. The Centers for Disease Control and Prevention (CDC) emphasizes the importance of clean breathing equipment to avoid respiratory illnesses.
- Extending Machine Life: When filters are clogged, the CPAP motor has to work much harder to pull in air. This can cause the motor to overheat and wear out prematurely. Regularly replacing inexpensive parts protects your investment in the main machine.
The Recommended CPAP Replacement Schedule
To help you stay on track, here is the standard replacement schedule recommended by manufacturers, clinical experts, and major insurance guidelines. Keep in mind that these are general timelines; if you notice visible wear, damage, or a decline in therapy comfort, you should replace the parts sooner.
| CPAP Component | How Often to Replace | Why It Needs Replacing |
|---|---|---|
| Disposable Ultra-Fine Filters | Every 2 weeks (or twice a month) | These thin filters trap tiny particles like dust and pollen. They cannot be washed and will clog, restricting airflow to the machine. |
| Nasal Cushions or Pillows | Every 2 weeks to 1 month | These small silicone pieces sit directly in or under your nose. They soften quickly from skin contact, leading to leaks and irritation. |
| Full Face Mask Cushions | Every 1 month | Larger cushions cover both the nose and mouth. They require a strong seal to prevent air from leaking into your eyes or mouth. |
| CPAP Tubing (Hose) | Every 3 months | Moisture inside the tube can create a breeding ground for bacteria and mold. Tiny, invisible tears can also develop, causing pressure loss. |
| Mask Frame | Every 3 months | The plastic frame holds the cushion in place. Over time, the plastic can warp, crack, or lose its structural integrity. |
| Reusable Foam Filters | Every 6 months (wash weekly) | These thicker filters block larger particles. Over time, the foam begins to crumble and degrade, which can send foam particles into the machine. |
| Headgear and Chin Straps | Every 6 months | The elastic straps stretch out from daily wear and washing. This leads users to overtighten the straps, causing facial pain and leaks. |
| Humidifier Water Chamber | Every 6 months | The plastic tub can develop tiny cracks, mineral buildup from water, or discoloration, making it difficult to keep clean and sanitary. |
When you need to refresh your setup, you can find a wide range of replacement parts and CPAP accessories, including replacement cushions, headgear, tubing, and filters, to keep your therapy running smoothly.
Step-by-Step Guide: How to Inspect and Replace Your CPAP Supplies
Replacing your CPAP parts is a simple process that you can easily manage at home. Follow these clear, step-by-step instructions to safely inspect, disassemble, and refresh your equipment.
Step 1: Gather Your Supplies
Before you begin, make sure you have a clean, dry surface to work on, such as a freshly wiped table or countertop. Gather your new replacement parts, a mild, unscented dish soap (or specialized CPAP wipes), and a clean, lint-free towel.
Step 2: Inspect Your Current Equipment
Take a close look at your existing CPAP setup. Look for the following warning signs that indicate immediate replacement is needed:
- Mask Cushion: Is it yellowed, stiff, or unusually soft and sticky? Do you have to tighten the straps excessively to stop leaks?
- Tubing: Hold the hose up to a light. Do you see any discoloration, mineral deposits, or moisture that won't dry? Gently stretch the ends to check for cracks or tears near the connectors.
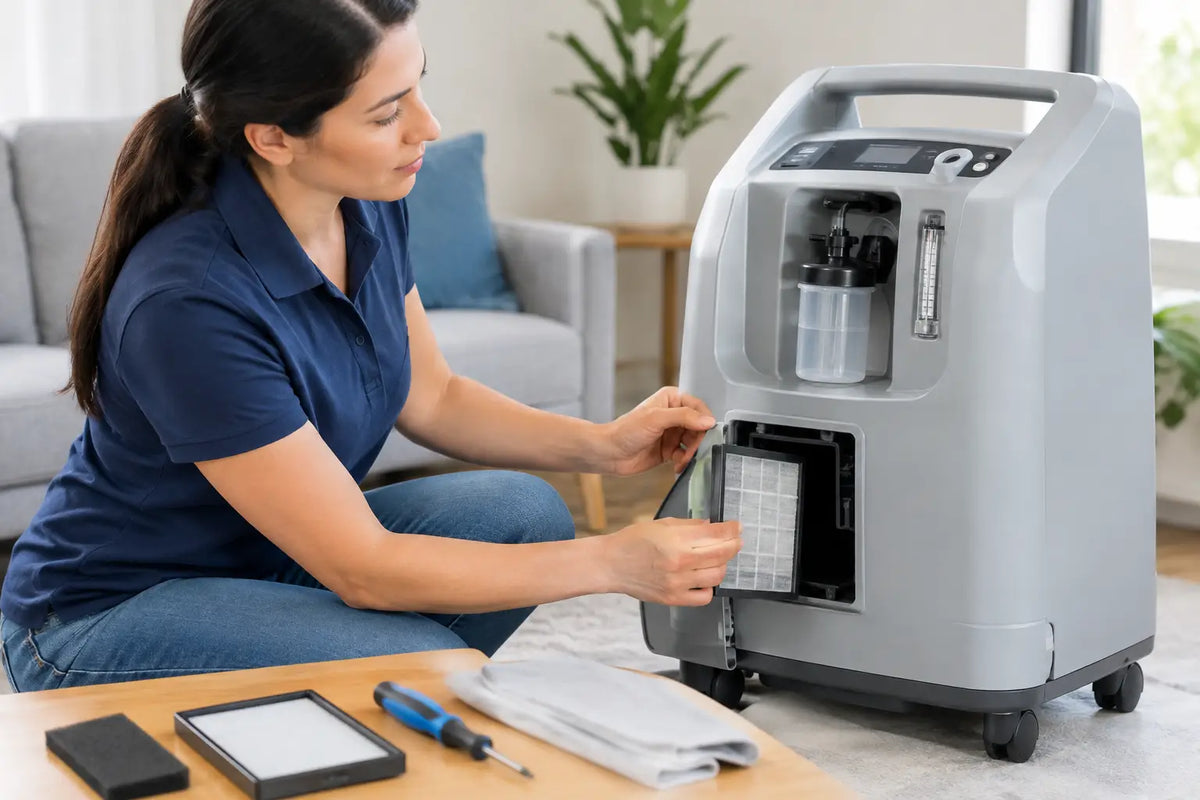
- Filters: Remove the filter from the back of the machine. Is it grey, dingy, or covered in dust?
- Water Chamber: Is the plastic cloudy, cracked, or showing white mineral crusts that won't wash away?
Step 3: Disassemble and Clean the Reusable Parts
Turn off and unplug your CPAP machine. Carefully pull the tubing away from both the machine and the mask. Remove the silicone cushion from the mask frame, and unclip the headgear straps. Wash any parts you are keeping (such as the mask frame or reusable filter) in warm, soapy water using mild dish soap. Avoid soaps with strong fragrances, moisturizers, or antibacterial agents, as these can leave a residue on the silicone. Rinse thoroughly with clean water.
Step 4: Prepare and Install the New Components
Open your new replacement parts. Gently press the new silicone cushion into the mask frame until you hear or feel it click securely into place. Thread the new headgear straps through the frame slots, ensuring the soft side of the fabric will face your skin. Slide the new filter into the filter port on the back of the machine. If your machine uses both a reusable and a disposable filter, remember that the disposable filter goes in first, followed by the reusable foam filter.
Step 5: Connect and Test the System
Attach one end of your new tubing to the air outlet on your CPAP machine and the other end to your mask frame. Fill your new humidifier water chamber with distilled water up to the maximum fill line, and slide it securely into the machine. Plug the machine back in, put on your mask, and turn the device on. Lie down in your normal sleeping position to test the fit. Listen closely for any whistling or hissing sounds that indicate air leaks, and adjust the straps gently if needed.
Common Mistakes to Avoid with CPAP Maintenance
To protect your health and get the most out of your CPAP therapy, avoid these common maintenance mistakes:
- Using Tap Water in the Humidifier: According to the Food and Drug Administration (FDA), tap water contains minerals and microorganisms that can build up in your water chamber and be inhaled. Always use distilled water to prevent mineral scale and keep the air pure.
- Cleaning with Harsh Chemicals: Never use bleach, alcohol, vinegar, dishwashing detergent, or strongly scented soaps to clean your CPAP parts. These chemicals can break down the silicone and plastics, ruin your equipment, and leave behind harmful fumes.
- Using Ozone or UV Sanitizers: Many manufacturers warn that ozone gas or UV light sanitizing devices can damage the internal components of CPAP machines and void your warranty. Warm, soapy water remains the safest, most effective cleaning method.
- Washing Disposable Filters: Disposable ultra-fine filters are paper-like and will fall apart if they get wet. Once they are dirty, they must be thrown away and replaced.
When to Call Your Healthcare Provider or Equipment Specialist
While routine part replacement is a normal part of home care, some situations require professional guidance. Contact your doctor, sleep specialist, or home medical equipment provider if you experience any of the following:
- Persistent Skin Irritation: If you develop red marks, rashes, or open sores on your face that do not go away after replacing your mask cushion or adjusting the fit.
- Unresolved Air Leaks: If you have replaced your cushion and headgear but still experience significant air leaking into your eyes or around your mouth.
- Changes in Sleep Quality: If you find yourself snoring again, waking up gasping, or feeling excessively tired during the day, your therapy pressure may need to be adjusted by your doctor.
- Discomfort or Dryness: If you experience severe nasal dryness, congestion, or throat irritation that does not improve with a new humidifier chamber or adjusted humidity settings.
Why does my CPAP mask keep leaking even after I tighten the straps?
Overtightening the straps is a common reaction to leaks, but it often makes the leak worse by warping the silicone cushion. Over time, facial oils break down the silicone, making it too soft to hold a seal. If your mask is leaking despite adjustments, it is likely time to replace the silicone cushion or the stretched-out headgear straps.
Can I wash and reuse disposable CPAP filters?
No. Disposable ultra-fine filters are made of a delicate, paper-like material designed to trap microscopic particles. Washing them will destroy the fibers and ruin their filtering ability. They must be discarded and replaced every two weeks. Only reusable foam filters can be washed and reused.
What happens if I do not change my CPAP supplies on time?
Using expired CPAP parts can lead to air leaks, which reduce the effectiveness of your therapy and may leave you feeling tired. Additionally, old parts can harbor bacteria, mold, and allergens, increasing your risk of skin irritation, nasal congestion, and respiratory infections.
How often should I clean my CPAP water chamber, and when should I replace it?
You should empty your water chamber daily, rinse it, and refill it with fresh distilled water. Wash it weekly with warm, soapy water. Even with proper care, the plastic chamber should be replaced every six months to prevent mineral buildup and bacteria growth in tiny cracks.
Does health insurance cover CPAP replacement parts?
Yes, most private health insurance plans, as well as Medicare and Medicaid, cover replacement CPAP supplies on a regular schedule. This schedule usually aligns closely with the standard replacement timelines outlined in this guide. Check with your insurance provider to confirm your specific benefits and coverage limits.
This article is for general educational purposes and is not medical advice. Always consult your healthcare provider for guidance specific to your situation.