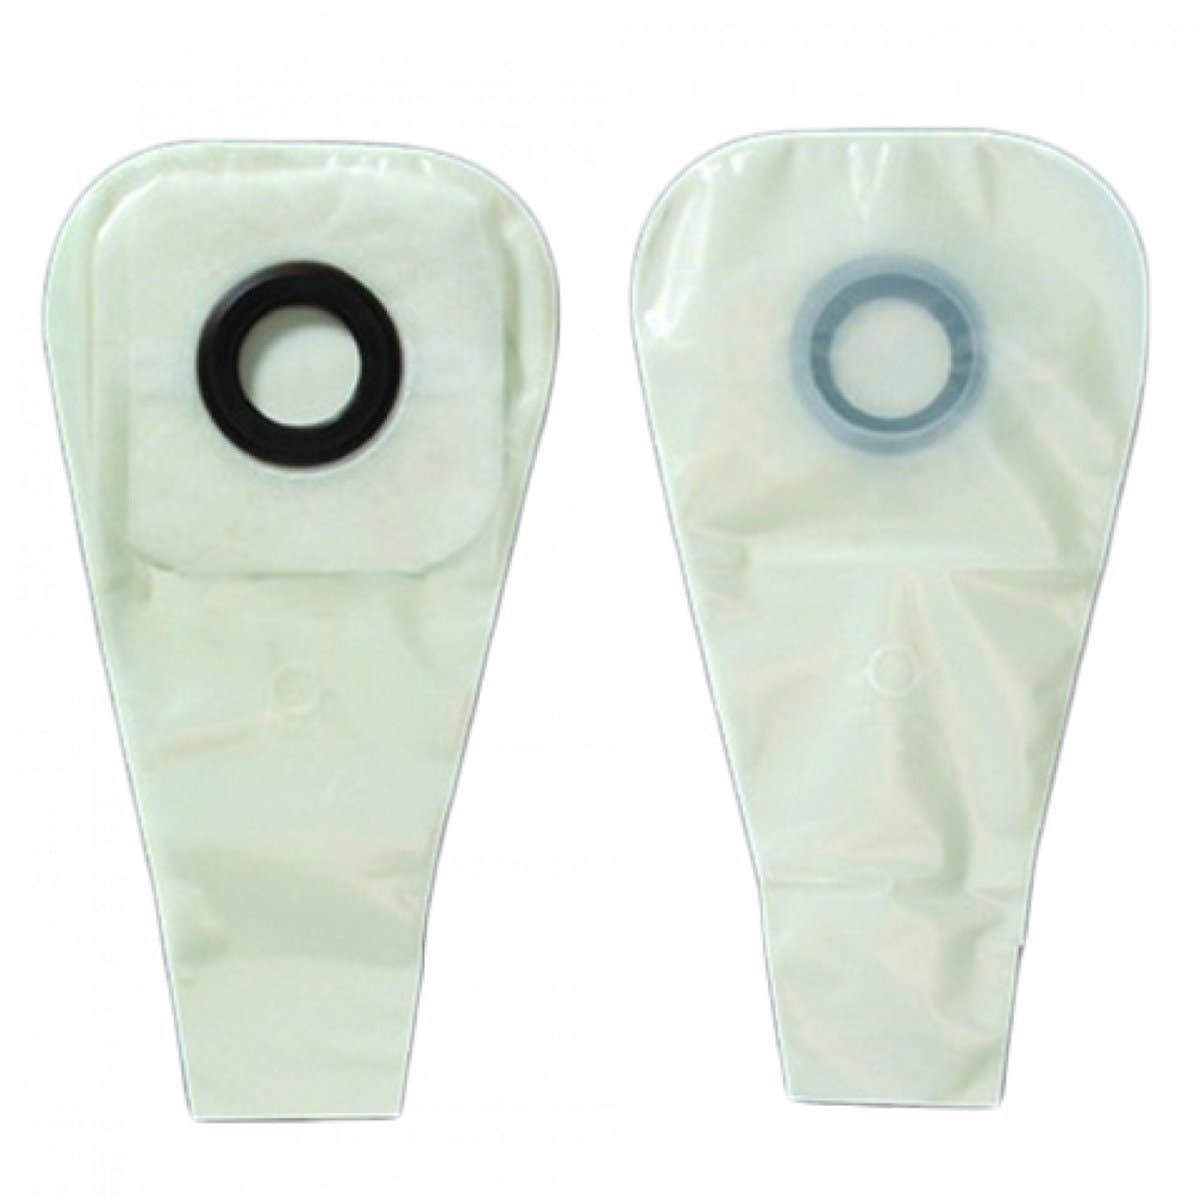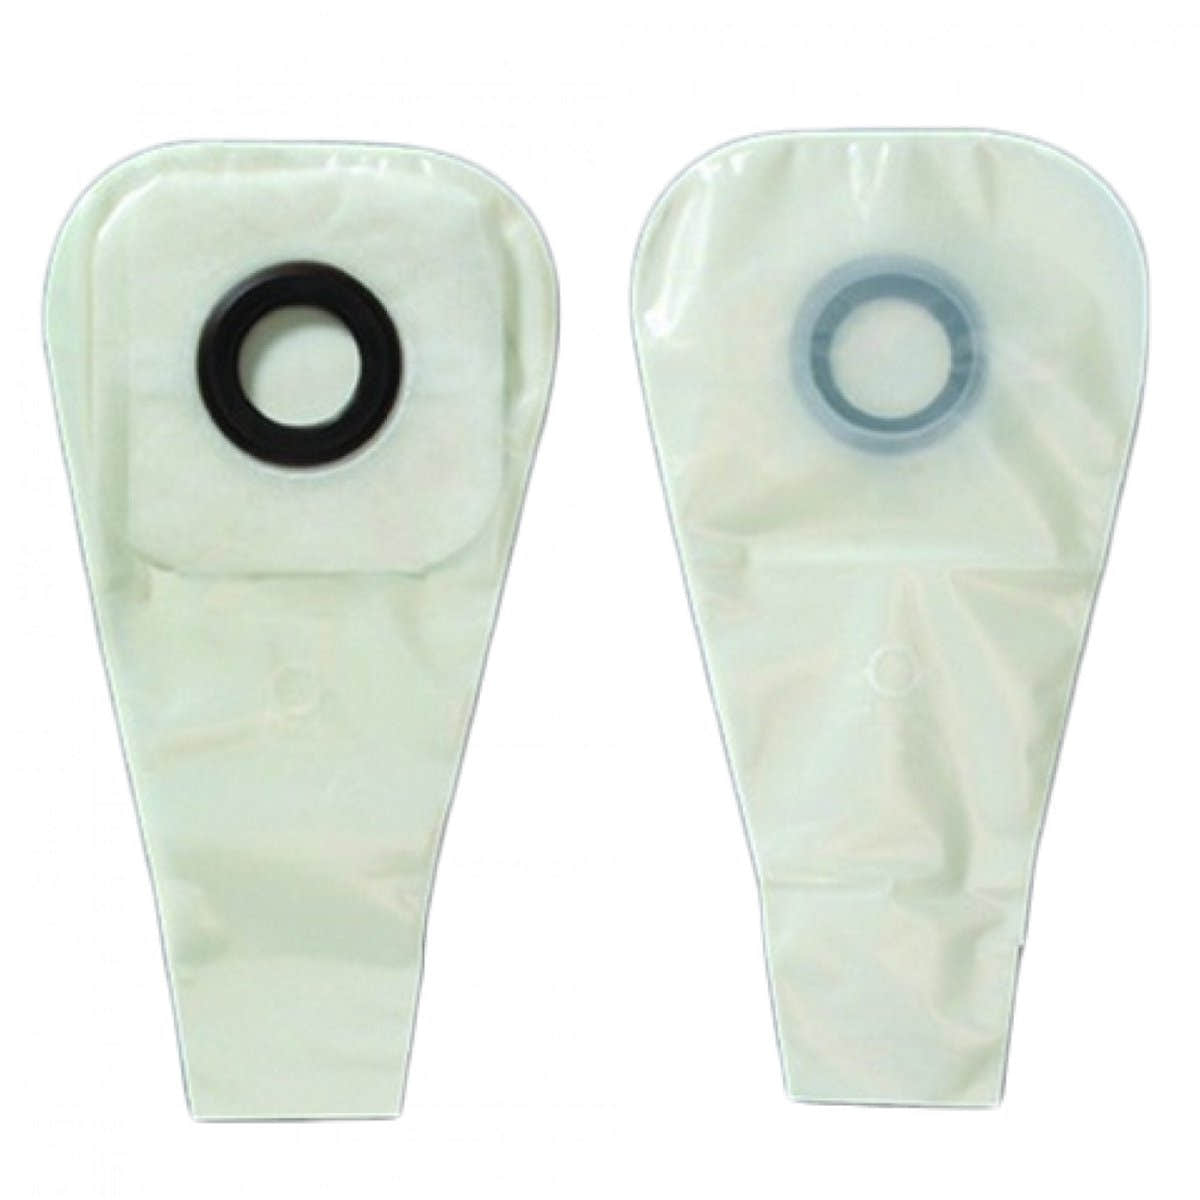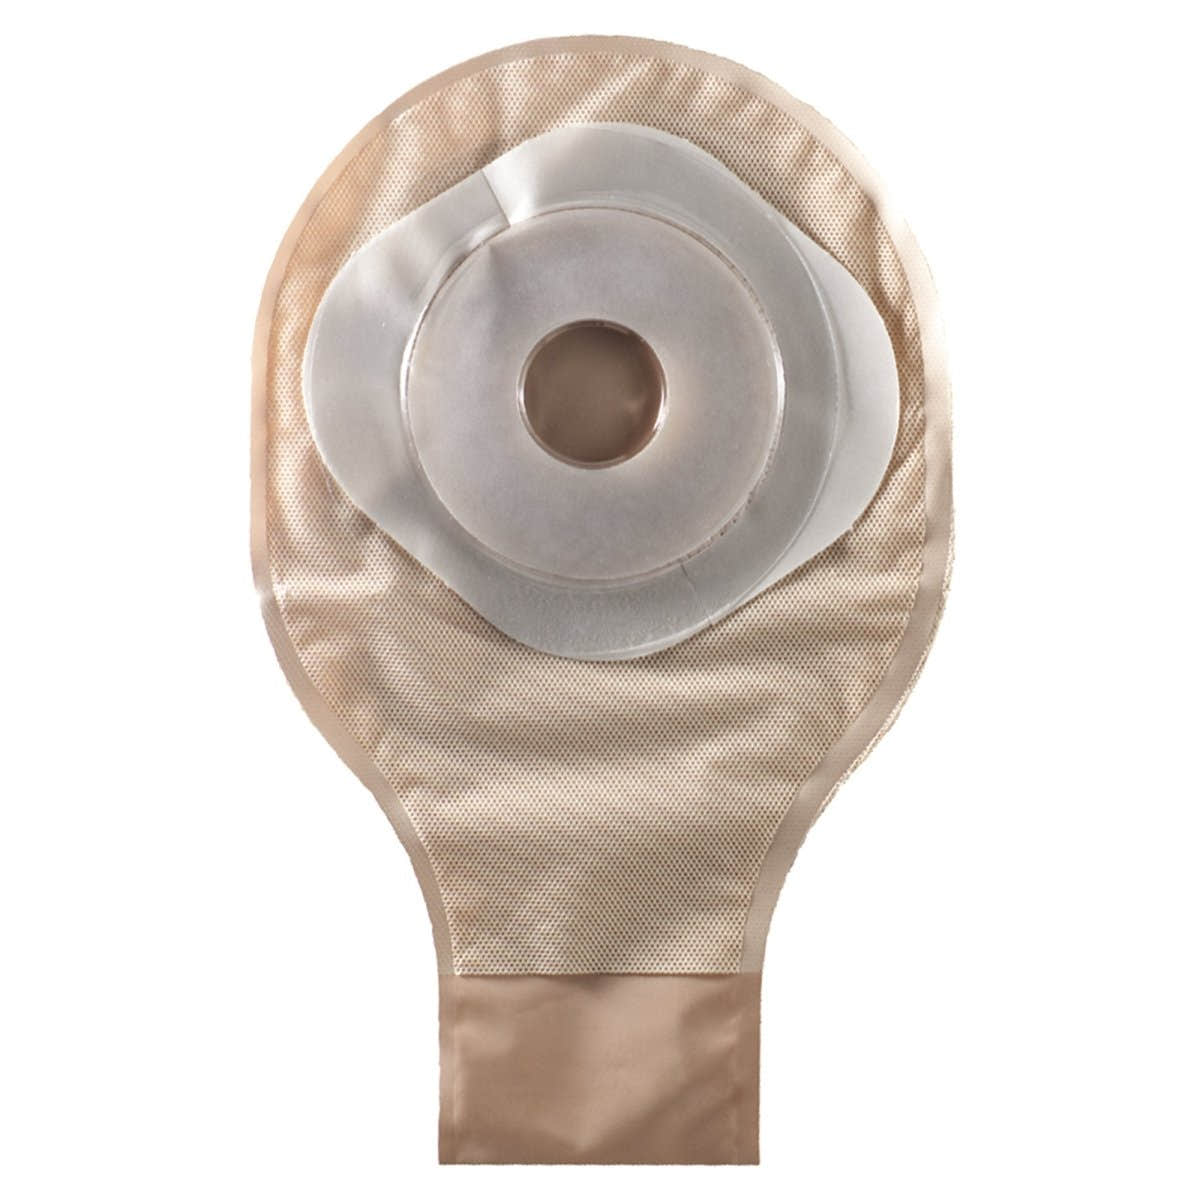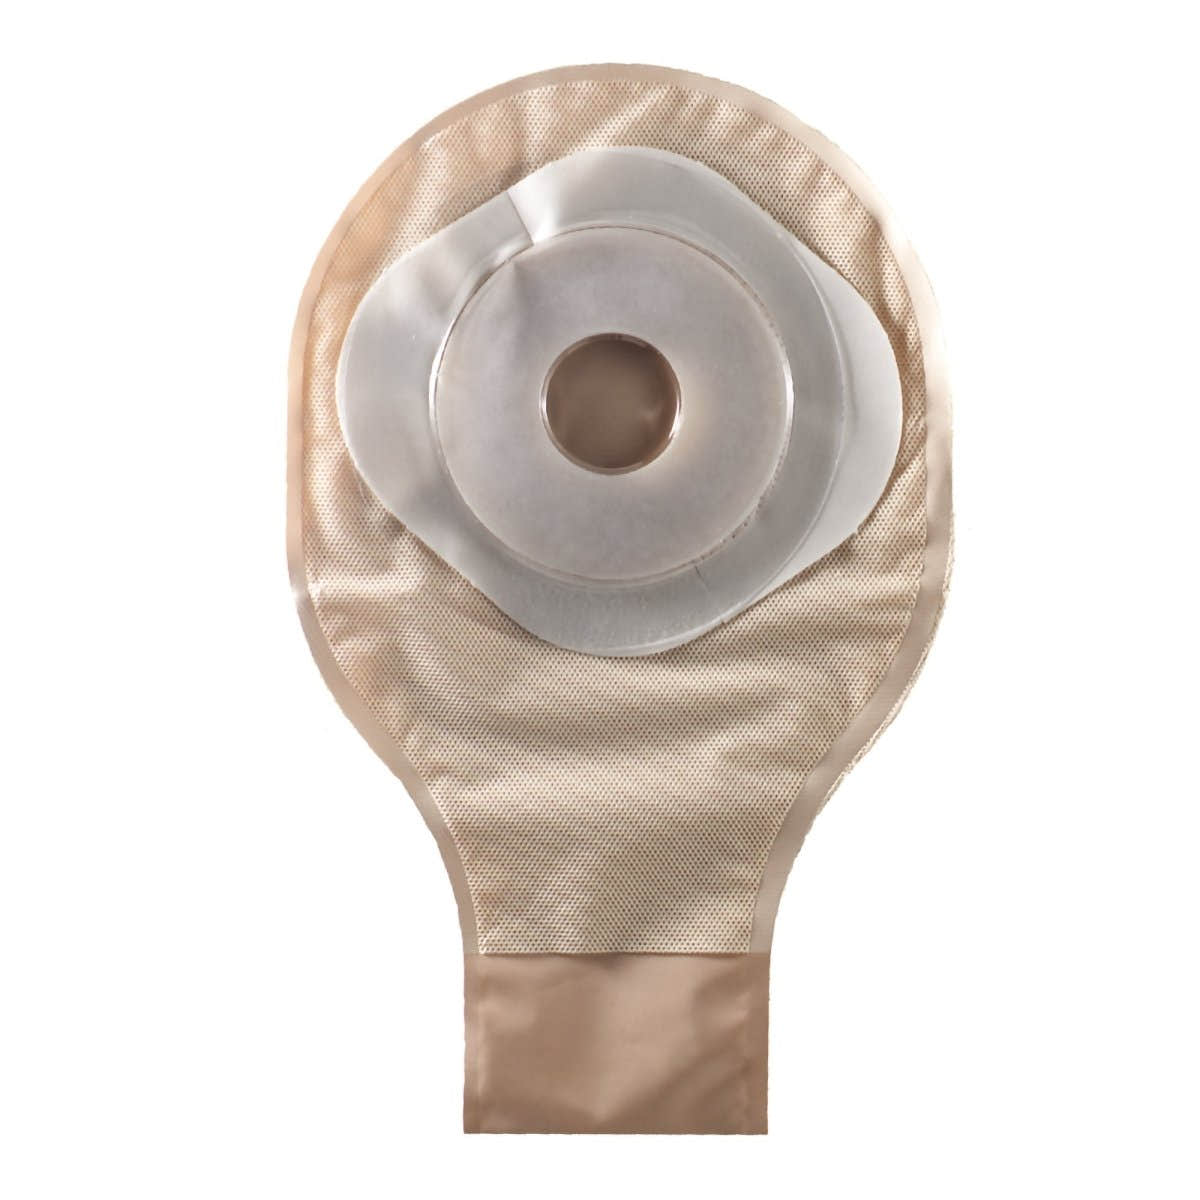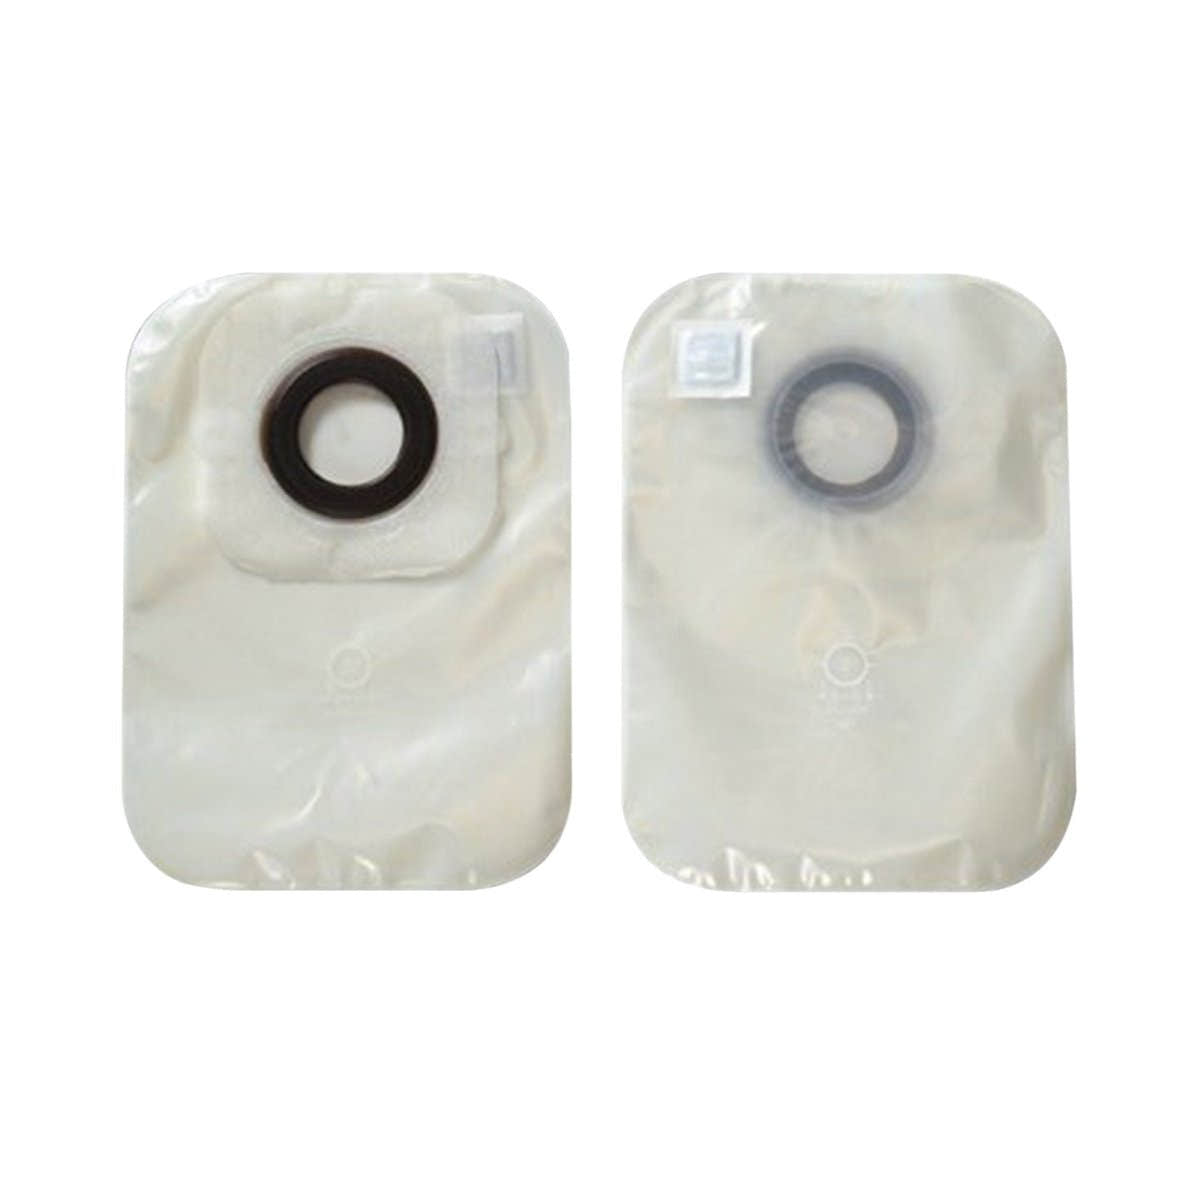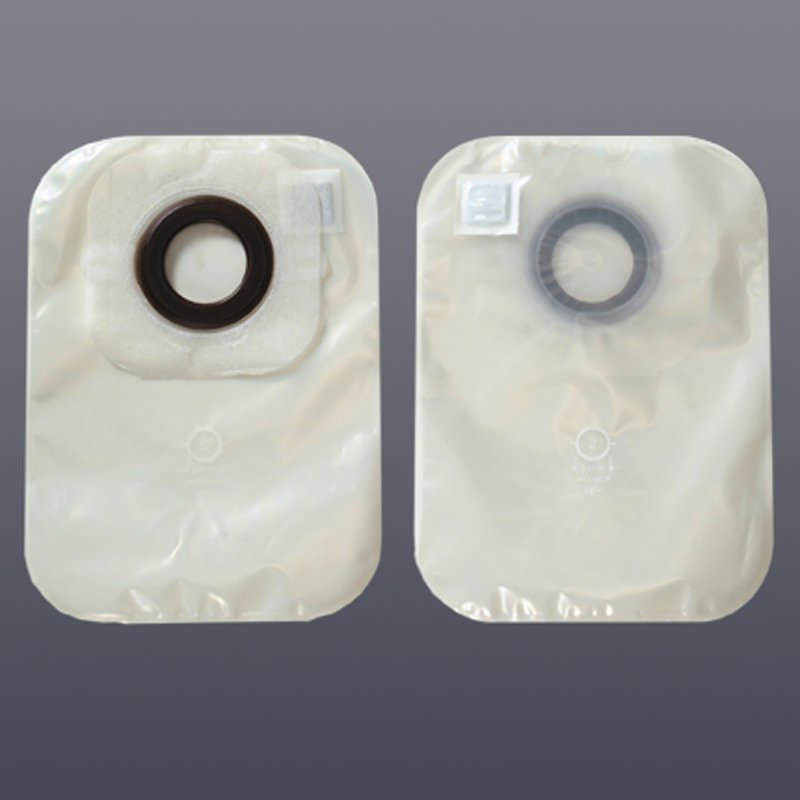
The first few times you change an ostomy system at home, a search for how to change colostomy pouch can feel urgent. The process becomes much more manageable when you have the right supplies within reach and follow the same routine each time. There is no need to rush. A well-fitted pouch should protect the skin around your stoma, collect output reliably, and let you move through your day with greater comfort.
Your ostomy nurse or healthcare provider’s instructions should always come first, especially after surgery or if you use a specialty pouching system. The steps below provide a practical routine for many adults with a colostomy, whether they use a one-piece pouch or a two-piece barrier and pouch system.
When to Change a Colostomy Pouch
Most people change the skin barrier and pouch every three to seven days, but the right schedule depends on your skin, output, body shape, and the system you wear. You may need to change it sooner if you notice itching, burning, leakage, lifting around the edges, an unusual odor that does not go away after emptying, or discomfort under the barrier.
Do not wait for a complete leak if the barrier is coming loose. Stool against the peristomal skin can cause irritation quickly, and a planned change is usually easier than an unexpected one. Many people find it helpful to change the pouch when the stoma is less active, often before eating or a few hours after a meal. Over time, you will learn your own routine.
Gather Supplies Before You Start
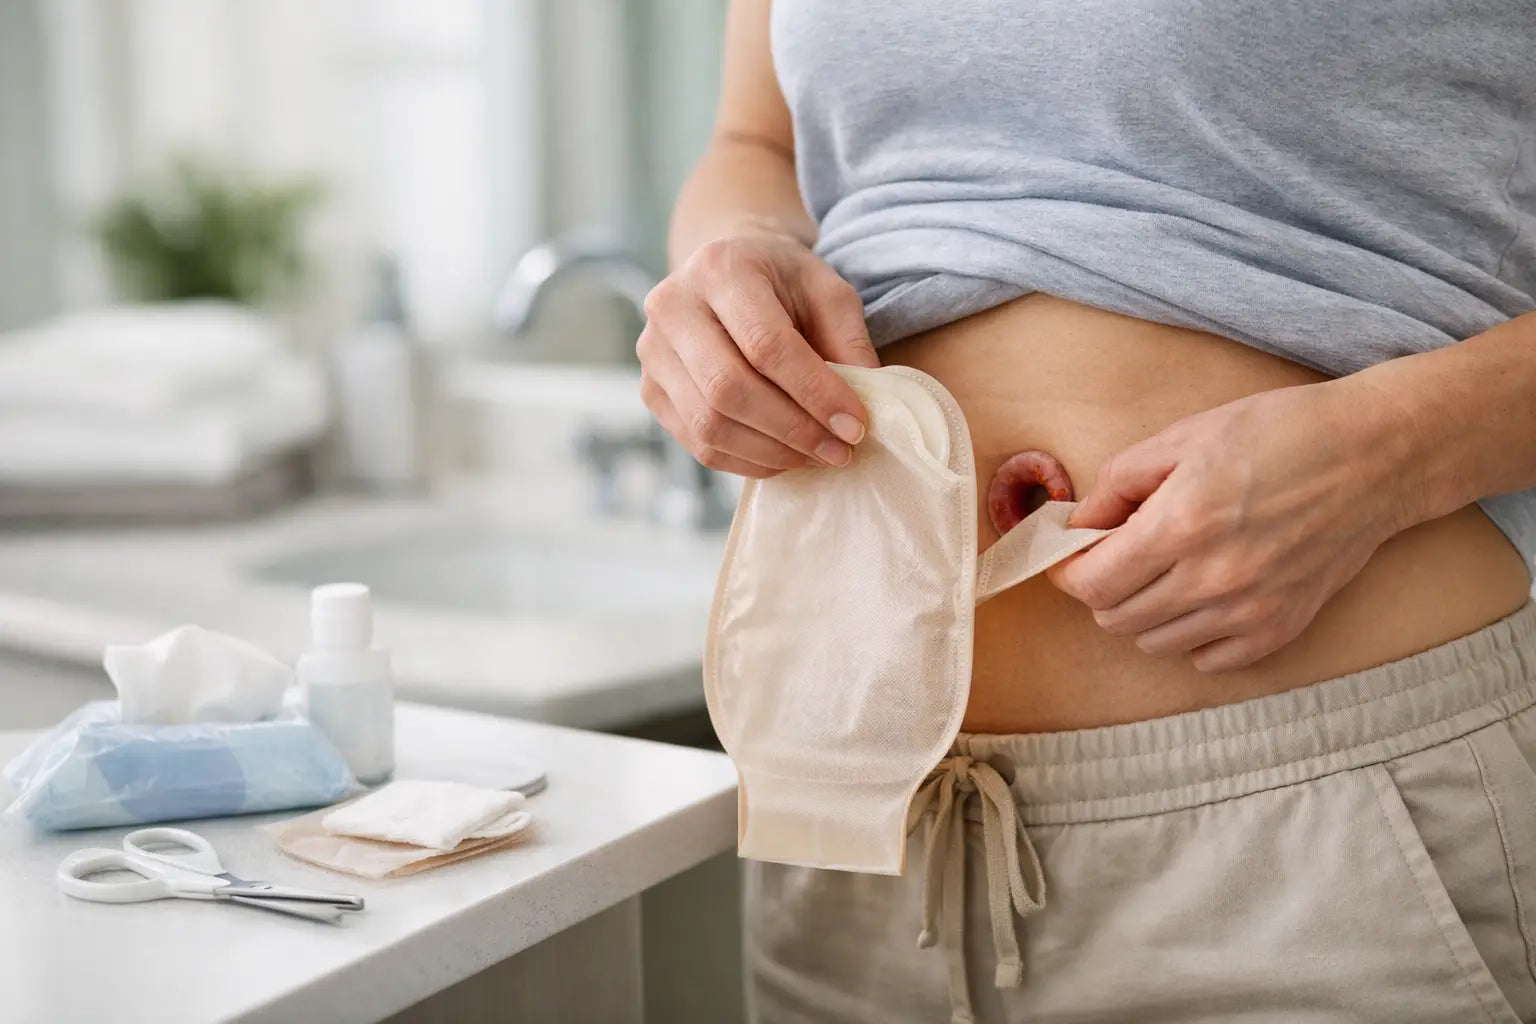
Set up on a clean, flat surface with good lighting. Having everything ready reduces the time your skin is exposed and makes the process less stressful. You will generally need your new pouching system, a measuring guide if you still measure your stoma, scissors if using a cut-to-fit barrier, and clean paper towels or soft washcloths.
Depending on your care plan, you may also use adhesive remover, skin barrier wipes or spray, stoma powder, a barrier ring, paste, or an ostomy belt. Not every person needs each accessory. Barrier rings and paste can help fill uneven areas of skin, while powder and skin barrier products may be recommended for irritated or weepy skin. Use products that work with your system and that your ostomy nurse has recommended.
It is also wise to keep a disposal bag nearby. If your pouch is drainable, empty it first when it is about one-third to one-half full. A lighter pouch is easier to remove and less likely to spill.
How to Change a Colostomy Pouch Step by Step
1. Wash your hands and prepare the new barrier
Wash your hands with soap and water, then dry them thoroughly. Open your replacement pouch and barrier before removing the current one. If you use a cut-to-fit skin barrier, measure the stoma with the guide supplied by the manufacturer. Cut the opening so it fits closely around the stoma without touching or rubbing it.
A small gap can expose skin to output, while an opening that is too tight can injure the stoma. Your stoma size may change during the first several weeks after surgery, so measure regularly until your care team tells you the size has stabilized. If you use a pre-cut barrier, check that the opening is still the right fit.
If your routine includes a barrier ring, gently shape it to fit around the opening. Warm the skin barrier between your hands for a minute if directed by the manufacturer. This can help the adhesive conform to your body.
2. Remove the old pouch gently
Hold the skin near the edge of the barrier with one hand. With the other, slowly peel the adhesive away from the skin, working from top to bottom. Press the skin down rather than pulling the skin barrier sharply upward.
Adhesive remover can make this step more comfortable, particularly if your skin is sensitive or the barrier is firmly attached. For a two-piece system, some people remove the pouch first and then the skin barrier. Others remove both together. Follow the method that feels secure and works with your product instructions.
Place the used pouch and supplies into your disposal bag. Most standard ostomy supplies can be sealed in a bag and placed in household trash. Do not flush pouches, wipes, or packaging.
3. Clean and inspect the stoma and surrounding skin
Use warm water and a soft cloth or paper towel to gently clean the stoma and surrounding skin. Mild soap may be used if it rinses away completely and does not leave lotion, oils, or fragrance behind. Residue can interfere with the adhesive seal.
Pat the area dry completely. The stoma itself is moist and pink to red, similar to the inside of your mouth. It may bleed slightly when wiped because it has many small blood vessels. A small spot of bleeding that stops with gentle pressure is usually not a concern.
Take a moment to inspect the peristomal skin. Healthy skin should look much like the skin on the rest of your abdomen. Redness, raw areas, a rash, open skin, persistent itching, or pain may mean output has been getting beneath the barrier or that an accessory is irritating your skin. Addressing a poor fit early can prevent a more difficult skin problem.
4. Apply skin products only as needed
If your clinician has recommended skin barrier spray, wipes, powder, paste, or a ring, apply it according to the product directions. More product is not always better. Thick layers of powder, paste, or lotion can prevent the barrier from adhering properly.
For moist, irritated skin, some people are taught to use a light dusting of stoma powder followed by a skin barrier film. This technique should be used only if it is part of your care plan. If you have ongoing skin breakdown, contact an ostomy nurse or healthcare provider rather than repeatedly adding products without guidance.
5. Position and secure the new pouching system
Center the barrier opening over your stoma and press it onto dry skin. Start close to the stoma and smooth outward to remove wrinkles and create a secure seal. Hold your hand over the barrier for 30 to 60 seconds. Body warmth can improve adhesion.
With a two-piece system, attach the pouch to the barrier once the barrier is secure. Check the connection all the way around. If you use a drainable pouch, make sure the outlet is closed before you get dressed. If you use a closed-end pouch, keep a spare with you whenever you leave home.
Finally, run a finger around the outer edge of the barrier. It should lie flat, with no folds, gaps, or lifted corners. A belt may add support for some pouching systems, but it should feel comfortable and not pull the barrier away from the skin.
Common Fit Problems and What to Do
A pouch that leaks repeatedly is not something you should simply accept. The cause may be an opening cut too large, a stoma that sits below skin level, creases near the stoma, changes in weight, or a barrier that is not suited to your body contour. A convex barrier, barrier ring, paste, or belt may help in certain situations, but the best choice depends on your individual needs.
If the adhesive lifts after bathing, make sure the skin is fully dry before application and avoid applying lotion near the stoma. If you perspire heavily, a skin barrier film or a different barrier may be useful. If you notice ballooning, where air builds up in the pouch, confirm that the filter is working and empty the pouch as needed. Do not puncture the pouch to release air.
Keeping a small record of leaks, skin changes, and wear time can help identify a pattern. This is especially useful when speaking with an ostomy nurse, who can suggest a different fit or accessory based on what is happening.
When to Call Your Healthcare Provider
Contact your healthcare provider or ostomy nurse for persistent leaking, worsening skin irritation, a rash that does not improve, deep cuts or open sores, or pain around the stoma. Seek prompt medical advice if the stoma becomes dark purple, black, very pale, severely swollen, or stops producing output along with cramping, nausea, or vomiting.
You should also call for bleeding that is heavy, continues, or comes from inside the stoma rather than from a minor surface irritation. These changes need professional assessment rather than a pouch adjustment at home.
A dependable supply routine makes pouch changes less disruptive. Keep enough of your preferred pouches, barriers, and accessories on hand to avoid last-minute substitutions, and pack a small change kit for appointments, errands, and travel. CartHealth offers ostomy product categories that can help make reordering home care essentials simpler. With practice, each change becomes a familiar part of caring for yourself, not the center of your day.