Managing a chronic respiratory condition at home can feel overwhelming at times, but having the right tools and knowing how to use them can make a world of difference. For many patients and caregivers, a nebulizer is an essential piece of medical equipment. This device turns liquid medication into a fine, breathable mist, allowing it to travel directly into the lungs where it is needed most. Learning how to use a nebulizer at home is a straightforward process that, with a little practice, will quickly become a stress-free part of your daily wellness routine.
At Cart Health, we understand that transition to home-based care requires clear, reliable guidance. Whether you are managing asthma, chronic obstructive pulmonary disease (COPD), or another respiratory condition, this guide will walk you through the process step-by-step. We will cover how to prepare your equipment, the correct way to inhale the medication, and how to clean your device to keep it working safely and effectively.
What is a Nebulizer and How Does It Work?
According to the National Institutes of Health (NIH), a nebulizer is a drug delivery device used to administer medication in the form of a mist inhaled into the lungs. It is particularly useful for people who have difficulty using handheld inhalers, such as young children, elderly patients, or anyone experiencing a severe respiratory flare-up.
While handheld inhalers require a coordinated breath to release and inhale the medicine, a nebulizer does the work for you. It continuously pumps air or oxygen through a liquid medication cup, creating a steady stream of mist. There are two main types of nebulizers commonly used at home:
- Jet Nebulizers: These use a compressor (a small machine that pumps air) to blast air through liquid medicine to create a mist. They are highly reliable, widely used, and typically plug into a standard wall outlet.
- Mesh Nebulizers: These use a tiny vibrating screen or mesh to push the liquid medicine through microscopic holes, creating an ultra-fine mist. They are often smaller, battery-operated, and highly portable.
Regardless of which style of nebulizer you use, the fundamental steps for preparing, inhaling, and cleaning the equipment remain very similar.
Gathering Your Nebulizer Supplies
Before you begin your treatment, it is best to gather all your supplies in a clean, quiet, and comfortable workspace. Having everything within arm's reach helps ensure a smooth, uninterrupted session. You will need:
- Your nebulizer compressor or portable mesh unit
- The nebulizer cup (the small plastic container where the liquid medicine goes)
- The mouthpiece or face mask
- The thin plastic connecting tubing (for jet nebulizers)
- Your prescribed liquid medication (often packaged in single-use plastic vials)
- A clean, dry towel or paper towels
- Access to soap and warm water for handwashing
If you are looking for replacement parts, backup masks, or a new compressor, exploring a dedicated collection of high-quality nebulizers and accessories can help ensure you always have sterile, reliable gear on hand.
Step-by-Step Guide: How to Use a Nebulizer at Home
By following these step-by-step instructions, you can ensure that you receive your full dose of medication safely and comfortably.
Step 1: Clean Your Hands and Workspace
According to the Centers for Disease Control and Prevention (CDC), proper hand hygiene is the single most effective way to prevent the spread of germs. Because you will be handling medication and parts that go directly into your mouth or nose, wash your hands thoroughly with warm water and soap for at least 20 seconds. Wipe down the table or surface where you will set up your equipment with a clean cloth.
Step 2: Check Your Medication
Examine your medication vial before opening it. Check the expiration date printed on the packaging. Look closely at the liquid; it should be completely clear and colorless. If the liquid looks cloudy, discolored, or contains tiny floating particles, do not use it. Reach out to your pharmacist or healthcare provider for a replacement.
Step 3: Add the Medication to the Cup
Unscrew or open the top of your nebulizer cup. Carefully twist off the top of your single-use medication vial. Squeeze all the liquid from the vial directly into the cup. Be careful not to touch the inside of the cup or the tip of the vial with your fingers to keep the environment as sterile as possible. Once the medicine is inside, screw the top of the nebulizer cup back on securely to prevent spills.
Step 4: Connect the Tubing and Attachments
If you are using a standard jet nebulizer, take one end of the plastic tubing and press it firmly onto the air outlet connector on your compressor machine. Attach the other end of the tubing to the bottom of your nebulizer cup. Next, attach either the mouthpiece or the face mask to the top of the nebulizer cup.
- Mouthpieces are generally preferred for older children and adults because they deliver the medication directly to the lungs with less waste.
- Face masks are ideal for infants, young children, or anyone who finds it difficult to hold a mouthpiece correctly in their mouth.
Step 5: Find a Comfortable Sitting Position
Sit in a comfortable, upright chair. Sitting up straight allows your lungs to expand fully, which helps the mist reach deep into your airways. Avoid slouching or lying down during your treatment, as this can cause the liquid in the cup to spill and prevents the machine from misting properly.
Step 6: Place the Device and Turn It On
If you are using a mouthpiece, place it between your teeth and close your lips firmly around it to create a tight seal. Do not breathe through your nose; breathe only through your mouth. If you are using a mask, place it over your nose and mouth, securing the elastic strap around your head so the mask fits snugly against your skin without gaps.
Once you are in position, flip the power switch on the compressor to the "on" position. You should immediately see a fine, steady white mist rising from the mouthpiece or mask. You will also hear the humming sound of the compressor motor.
Step 7: Breathe Slowly and Deeply
Breathe in and out through your mouth at a natural, steady pace. Every few breaths, take a very deep breath in and hold it in your lungs for one to two seconds before exhaling slowly. This brief hold allows the tiny droplets of medication to settle deep into your bronchial tubes. Continue this process until the mist stops forming. You may need to gently tap the side of the cup occasionally to encourage any droplets clinging to the walls to slide down to the bottom.
Step 8: Complete Your Treatment
When the medication is fully used, the machine will begin to make a sputtering sound, and the mist will stop coming out. This entire process usually takes between 5 and 15 minutes, depending on the volume of medication and the type of machine you use. Once the mist is gone, turn off the compressor, remove your mask or mouthpiece, and take a few normal breaths.
Cleaning and Disinfecting Your Equipment
Keeping your nebulizer clean is just as important as using it correctly. According to the American Lung Association (ALA), dirty nebulizer parts can grow bacteria and mold, which can lead to serious lung infections if inhaled. Establish a strict cleaning routine to keep your lungs safe.
After Every Use (Daily Quick Clean)
Do not leave your nebulizer sitting with residual moisture. Immediately after your treatment:
- Disconnect the tubing from the nebulizer cup (never wash or submerge the plastic tubing, as water can get trapped inside and grow mold).
- Disassemble the nebulizer cup, mouthpiece, or mask.
- Rinse these parts thoroughly under warm running tap water for 30 seconds to remove any leftover medication.
- Shake off the excess water and place the parts on a clean paper towel or lint-free dish towel to air-dry completely in a dust-free area.
Once or Twice a Week (Deep Disinfection)
To kill any lingering bacteria, you must deeply disinfect your reusable nebulizer parts regularly. Always refer to your specific manufacturer's instruction manual, but a standard, safe method recommended by the ALA is:
- Wash the disassembled parts (except the tubing) in warm, soapy water using a mild dish soap.
- Soak the parts in a solution of one part white vinegar to three parts hot water for 30 minutes. (Alternatively, you can use a commercial medical-grade disinfectant solution if recommended by your healthcare provider).
- Rinse the parts thoroughly under clean, warm water to remove all traces of vinegar or soap.
- Allow them to air-dry completely on a clean towel before reassembling or storing them.
Store your dry nebulizer parts in a clean, zippered plastic bag or a dedicated storage case to protect them from dust and pet dander between uses.
Common Mistakes to Avoid
When learning how to use a nebulizer at home, avoiding these common pitfalls will save you time and ensure you get the maximum benefit from your respiratory therapy:
- Breathing through your nose with a mouthpiece: Your nasal passages act as a natural filter, trapping the medication before it can reach your lungs. Always breathe through your mouth when using a mouthpiece.
- Washing the tubing: Moisture inside the tubing is incredibly difficult to dry out and quickly becomes a breeding ground for mold. If your tubing gets dirty on the outside, simply wipe it with a damp cloth. If moisture gets inside the tubing, run the compressor for a few minutes without the cup attached to blow the water out. If it remains damp, replace the tubing.
- Using tap water to mix medications: Never use tap water, bottled water, or homemade saline to dilute your medications. Only use sterile saline solutions prescribed by your doctor.
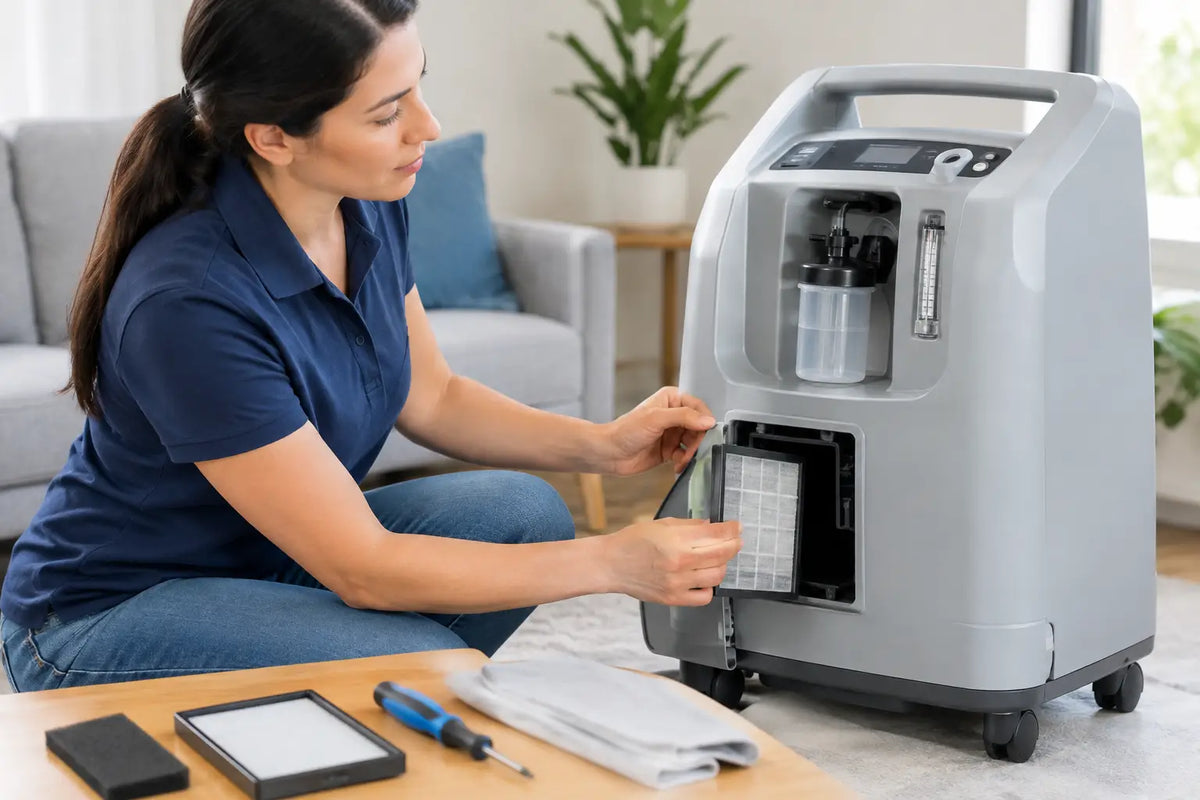
- Ignoring the air filter: Most nebulizer compressors have a small, replaceable air filter. Check this filter once a week. If it looks gray, dirty, or wet, replace it immediately according to the manufacturer's instructions.
When to Contact Your Healthcare Provider
While using a nebulizer is a routine part of managing many chronic respiratory conditions, you should always monitor how you feel during and after your treatments. Contact your doctor or seek medical attention if:
- You experience increased shortness of breath, wheezing, or chest tightness during or immediately after your treatment.
- You feel dizzy, lightheaded, or experience a rapid, racing heartbeat while inhaling the medication.
- Your respiratory symptoms do not improve after completing the full treatment as prescribed.
- You have questions about your specific medication dosage, frequency of use, or if you suspect your machine is not misting correctly.
How long does a typical nebulizer treatment take?
Most nebulizer treatments take between 5 and 15 minutes. The exact time depends on the volume of liquid medication prescribed, the power of your compressor, and the type of nebulizer cup you are using. The treatment is complete when the mist stops and the machine begins to sputter.
Can I wash the plastic nebulizer tubing?
No, you should never wash or submerge the plastic tubing in water. Moisture can easily get trapped inside the long, narrow tube, creating a dark, damp environment where mold and bacteria can grow. If the outside of the tubing is dirty, wipe it with a damp cloth. If moisture gets inside, run the compressor for a few minutes to blow it out, or replace the tubing.
Should I use a mouthpiece or a face mask?
Mouthpieces are generally preferred for adults and older children because they deliver the medication directly into the lungs with very little waste. However, if the patient is a young child, an infant, or someone who cannot hold the mouthpiece firmly in their mouth, a snug-fitting face mask is the best option to ensure they receive the full dose.
How often should I replace my nebulizer parts?
Even with regular cleaning, nebulizer cups, mouthpieces, and tubing degrade over time. Reusable nebulizer cups typically last around 6 months, while disposable cups should be replaced after a few weeks of regular use. Check your manufacturer's instructions, and replace any parts immediately if they look cracked, discolored, or clogged.
This article is for general educational purposes and is not medical advice. Always consult your healthcare provider for guidance specific to your situation.