A rolled elastic bandage can provide light support, hold a cold pack in place, or help manage swelling after a minor strain or sprain. Knowing how to apply an elastic bandage correctly matters because a wrap that is too loose will slip, while one that is too tight can interfere with circulation. The goal is secure, comfortable, even pressure - never a tight squeeze.
Elastic bandages are useful home-care supplies, but they are not a substitute for an evaluation when an injury may be serious. If there is a visible deformity, severe pain, an open wound, numbness, inability to bear weight, or swelling that quickly worsens, seek medical care rather than trying to manage the injury with a wrap alone.
Choose the Right Elastic Bandage
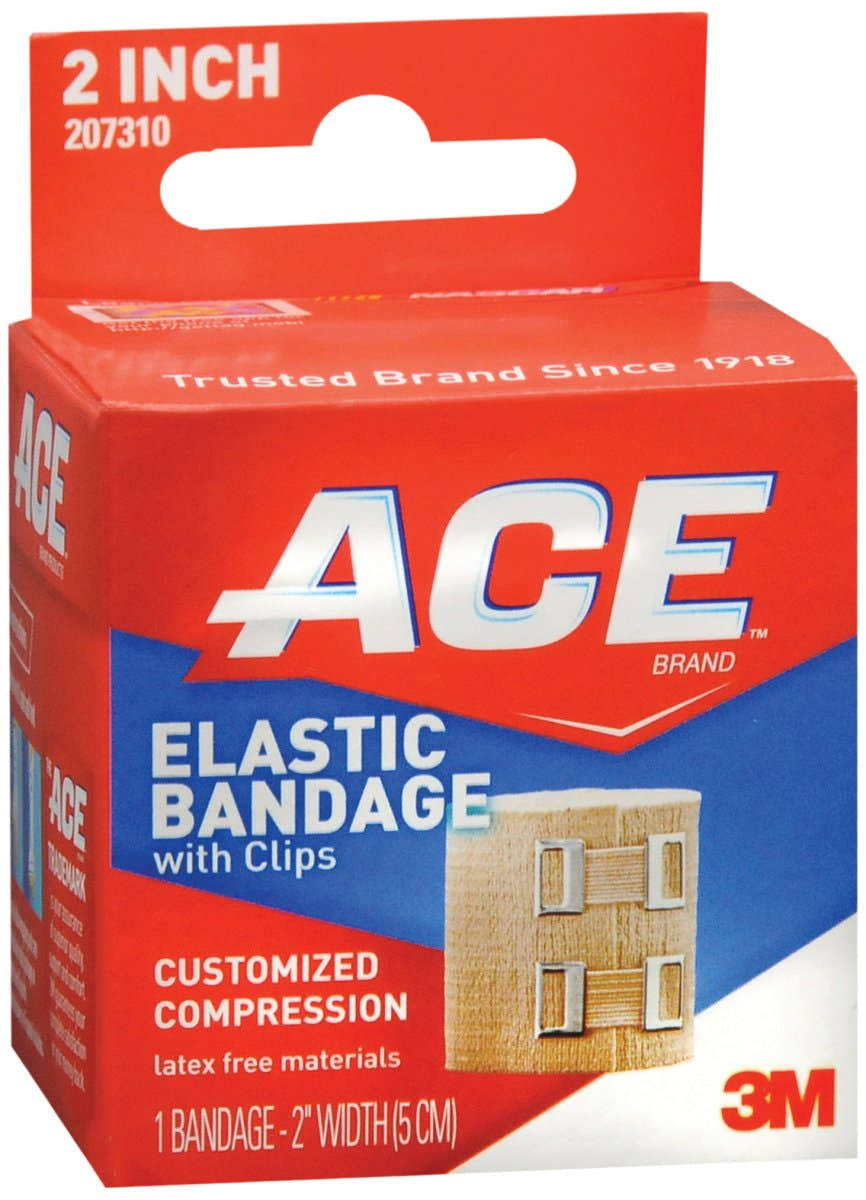
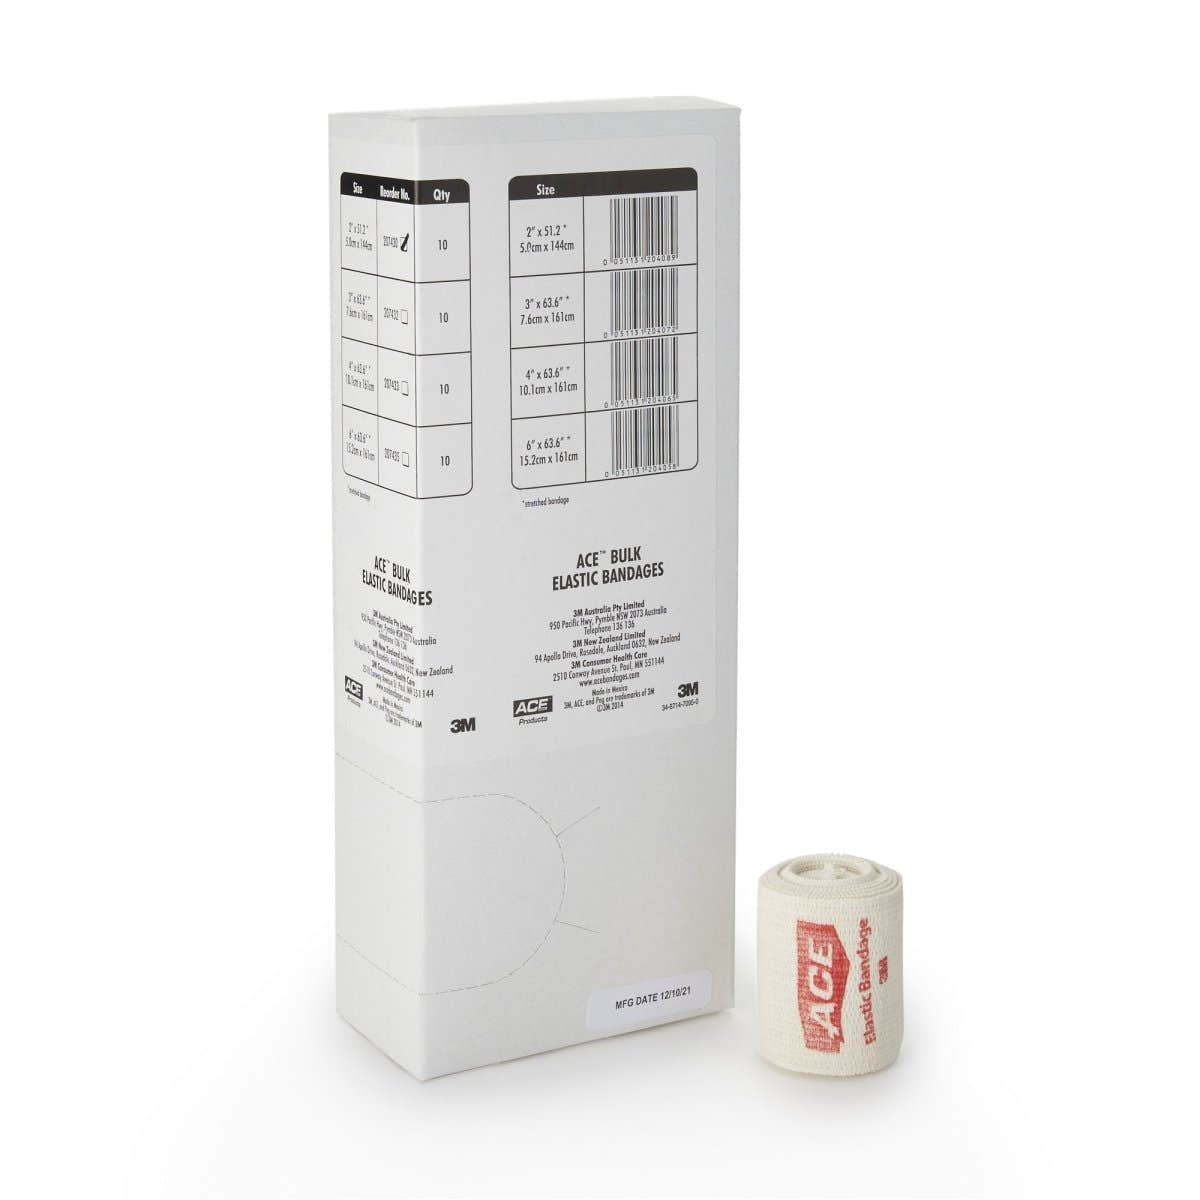
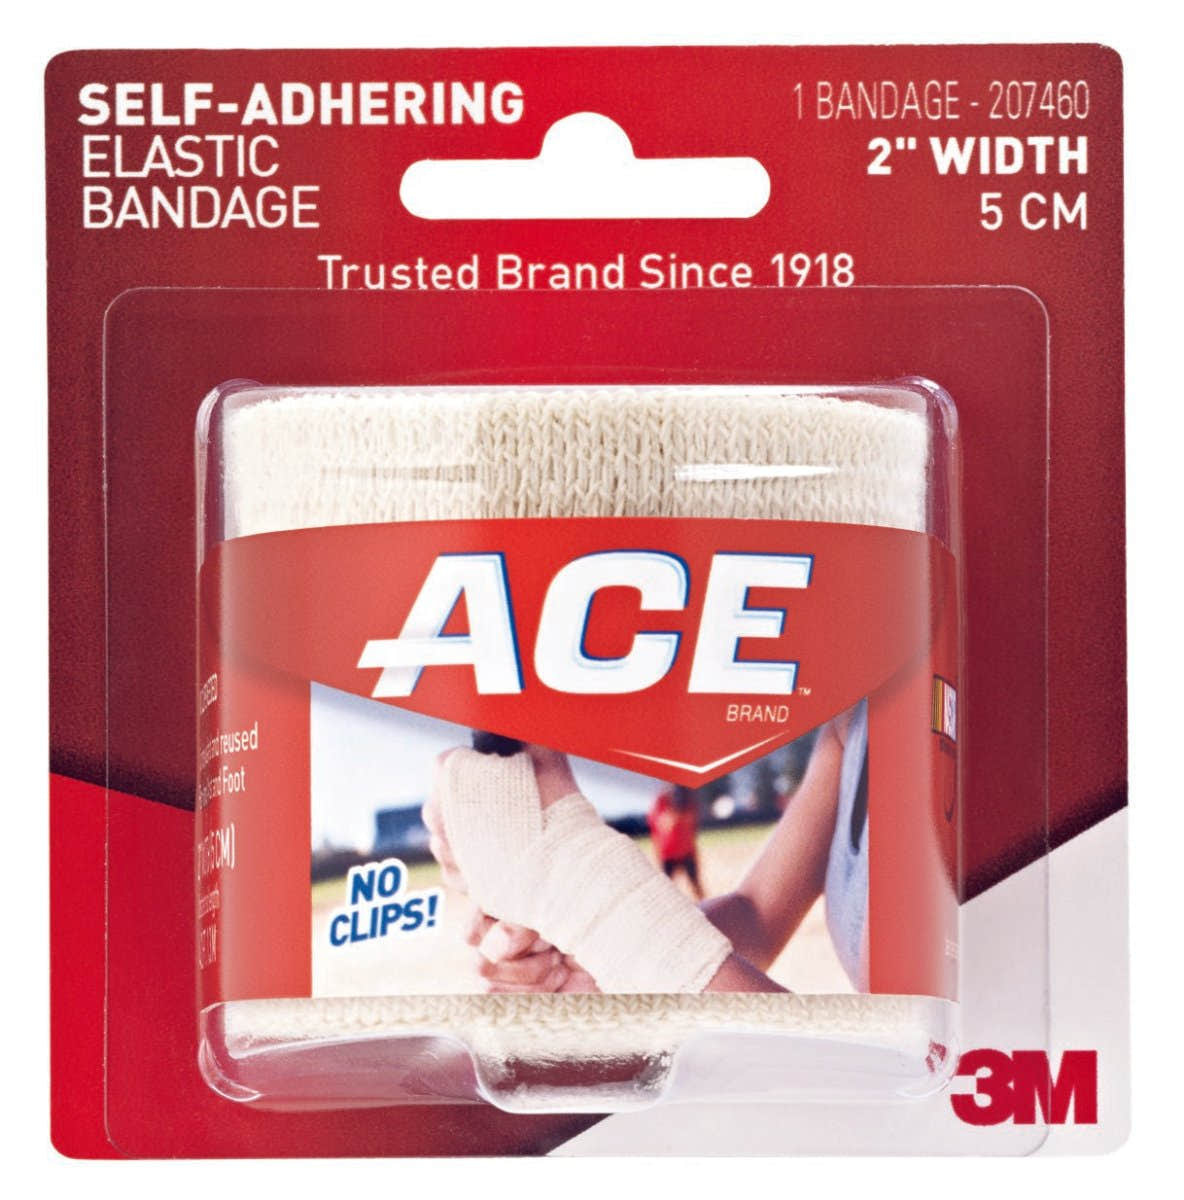
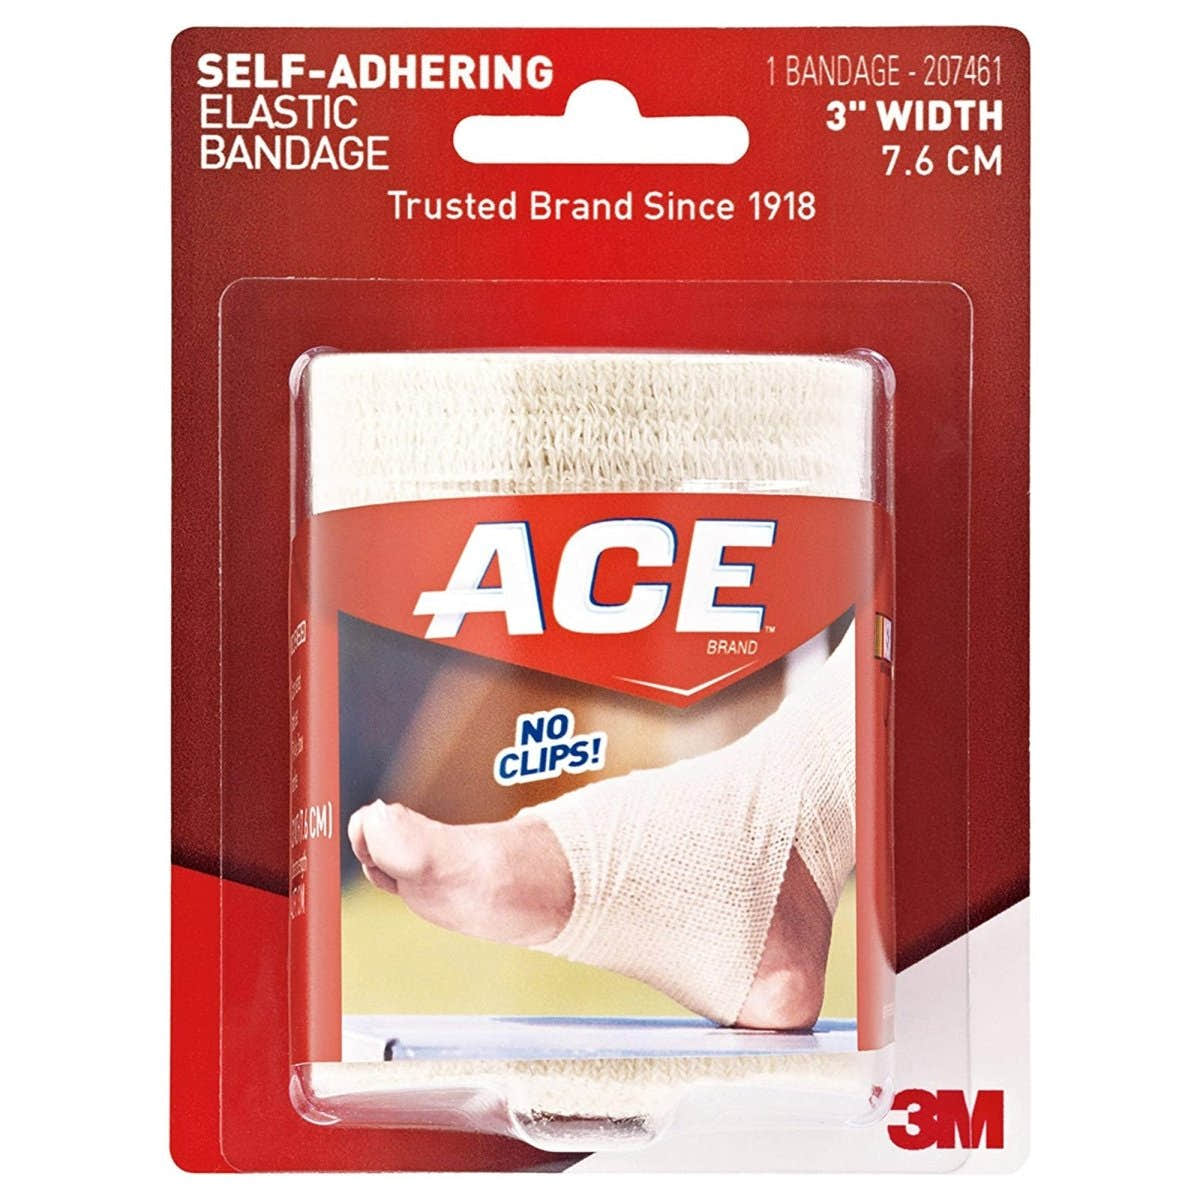
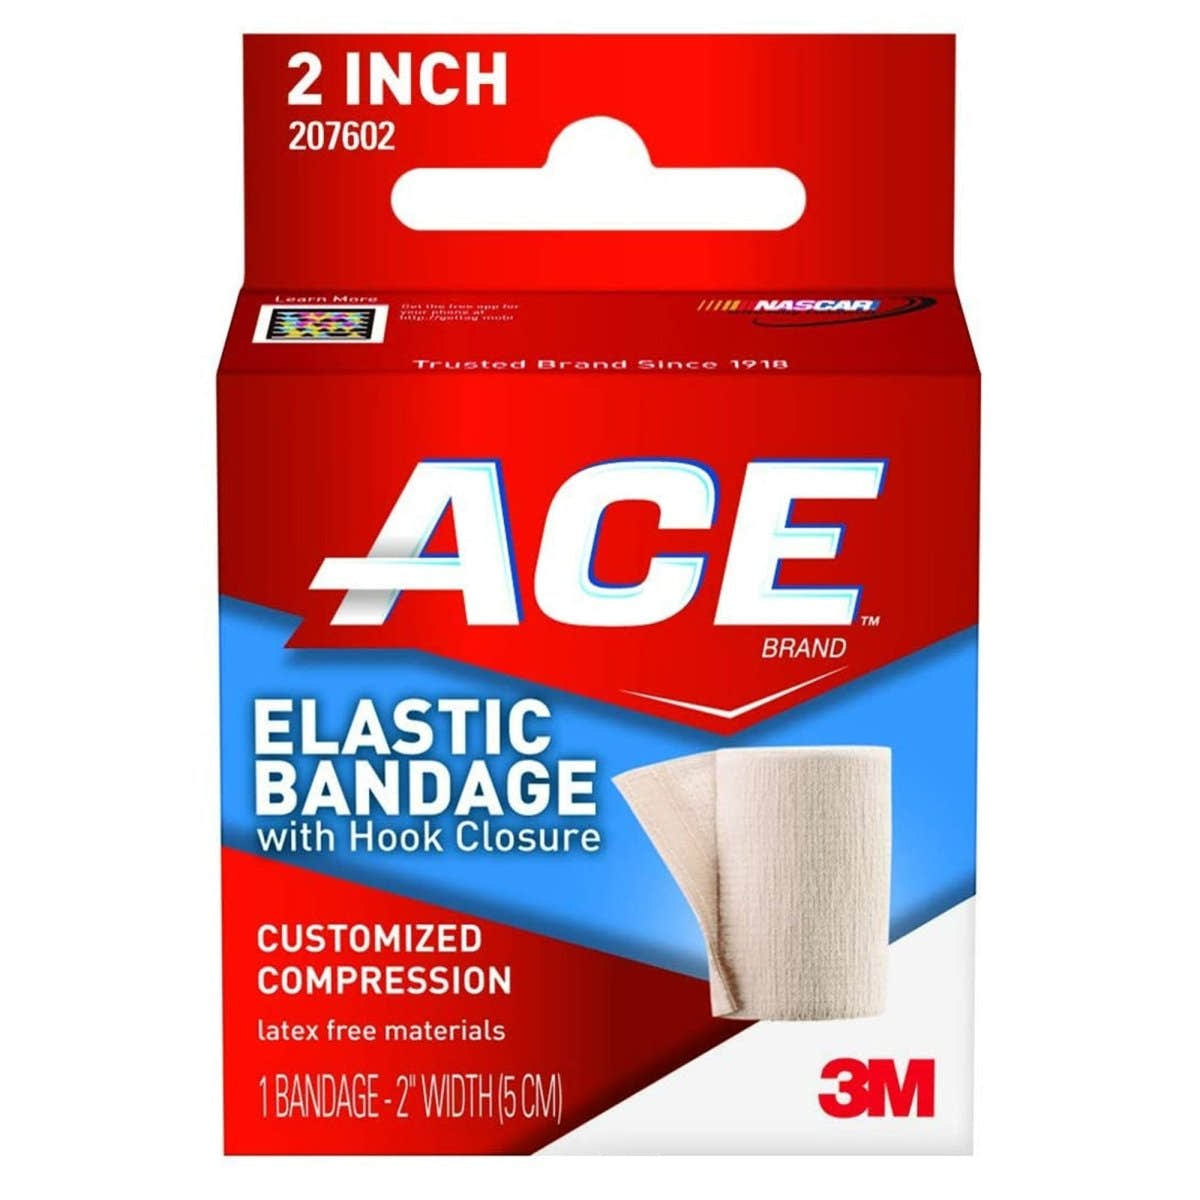
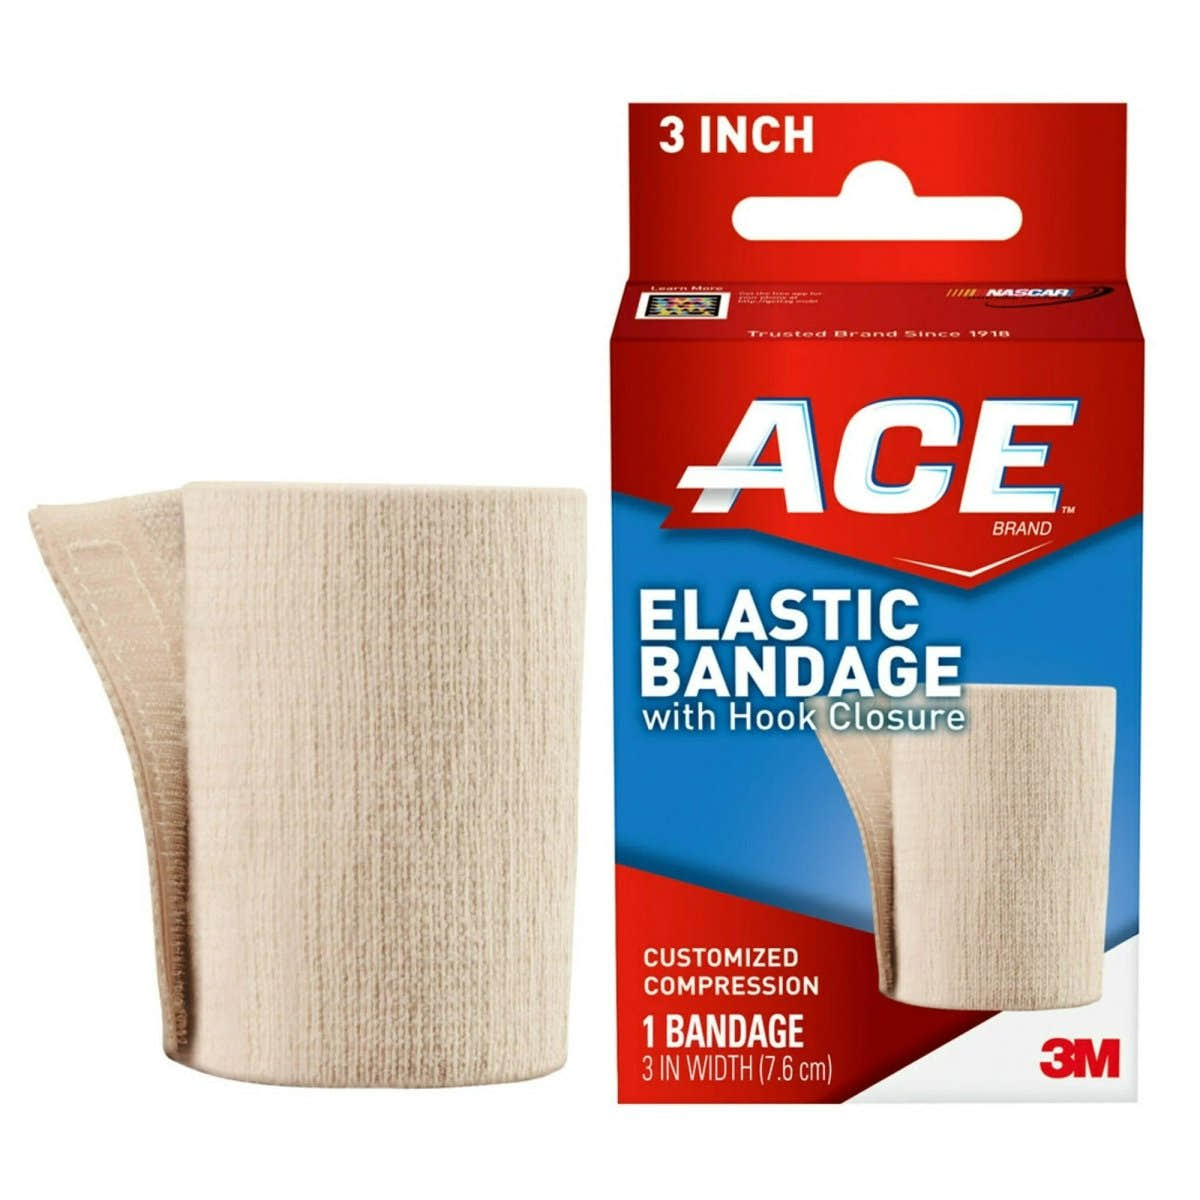
Elastic bandages, sometimes called compression wraps, come in several widths. A narrower bandage is generally easier to use on a wrist, hand, or foot. A wider bandage is usually more practical for an ankle, knee, thigh, or lower leg. Choose a length that can wrap the area with overlap without needing to be pulled hard.
Most reusable elastic bandages have clips, hook-and-loop closures, or self-fastening material. Check that the closure can hold the wrap in place without pins pressing into the skin. If the bandage is stretched out, frayed, or no longer holds its shape, replace it. A worn-out wrap cannot provide even support.
Before wrapping, remove rings, watches, ankle jewelry, or anything else that could become tight if swelling increases. Sit in a stable, comfortable position and keep the injured area supported. For a fresh injury, follow the care plan provided by a healthcare professional. Rest, elevation, and a covered cold pack may be appropriate in some situations, but the right approach depends on the injury and your health history.
How to Apply an Elastic Bandage Step by Step
The general technique is to start below the area needing support and work upward toward the body. This approach encourages even pressure and helps prevent the wrap from bunching. Keep the body part in a natural, comfortable position while you work.
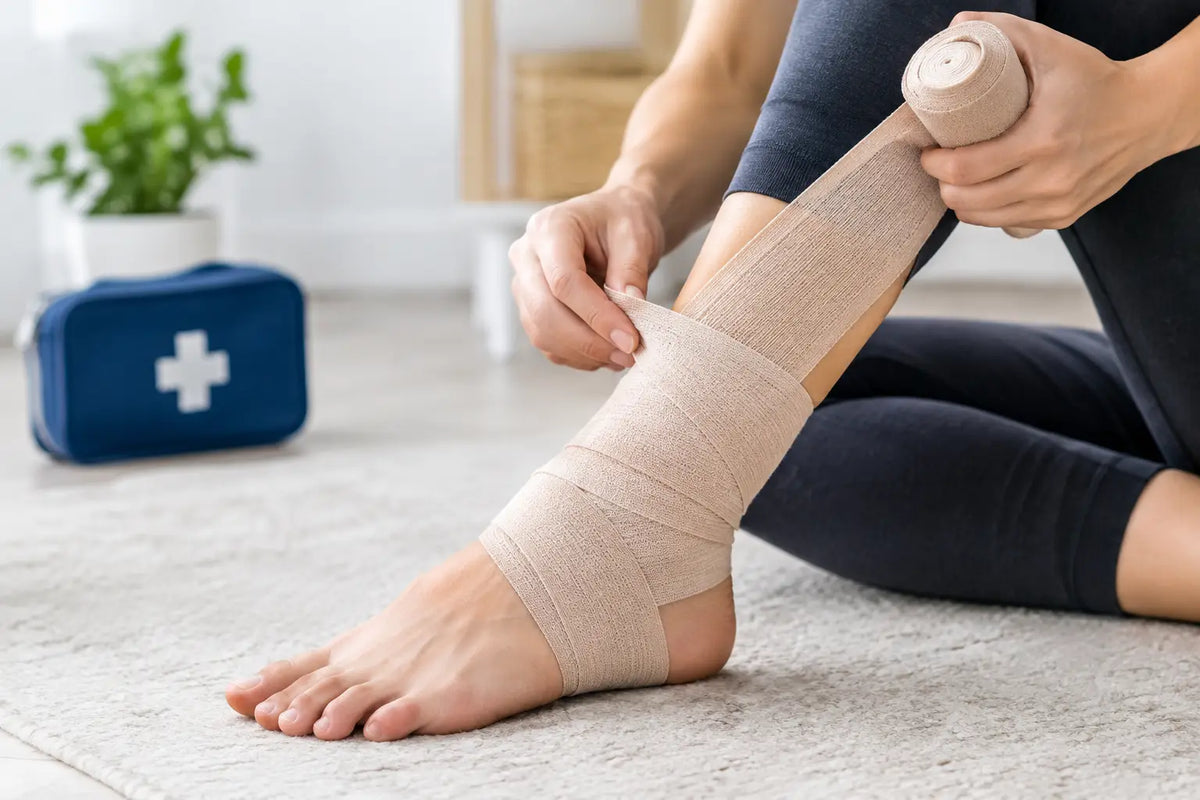
1. Begin with the loose end of the bandage. Place it at the farthest point from the heart, such as near the toes for an ankle wrap or near the fingers for a wrist wrap. Leave fingertips or toes visible whenever possible so you can check circulation.
2. Make one or two gentle anchor turns. Wrap around the area without pulling the bandage tight. The first turns should hold the starting end in place, not create strong compression.
3. Work upward with even overlap. Continue wrapping in a spiral, overlapping each layer by about half the width of the bandage. Smooth the material as you go. Wrinkles and rolled edges can create pressure points that become uncomfortable.
4. Use a figure-eight pattern around joints when needed. Ankles and wrists often need more support than a straight spiral provides. Cross the bandage over the front of the joint, circle below it, then cross back over the front. Repeat gently until the area is covered.
5. Finish above the area of concern. Secure the closure where it will not rub against a shoe, brace, or clothing. The final layer should lie flat. Do not use safety pins unless the bandage is designed for them and they can be positioned safely away from the skin.
A properly applied wrap should feel supportive but comfortable. You should be able to slide a fingertip under the edge in most cases. It should not throb, pinch, cause tingling, or leave deep marks shortly after application.
Wrapping an Ankle
For a minor ankle strain, start around the ball of the foot, just behind the toes. Bring the wrap across the top of the foot, around the heel, and back across the top in a figure-eight. Continue up around the ankle and finish a few inches above the ankle joint. Keep the heel and toes uncovered if possible.
Avoid pulling harder as you move toward the ankle. It is easy to over-tighten at the narrowest part of the joint, especially when trying to make the wrap feel more supportive. Even tension is more useful than maximum tension.
Wrapping a Wrist or Hand
Start around the palm or just above the wrist, depending on the area that needs support. Make gentle turns around the wrist, then use a figure-eight across the back of the hand and around the wrist if added stability is needed. Keep fingers free to move unless a clinician has instructed otherwise.
Do not wrap directly over a painful bony point with extra pressure. If wrist or hand pain followed a fall, includes significant swelling, or makes it difficult to grip or move fingers, get medical advice. Some fractures can look like a simple sprain at first.
Check the Fit and Circulation
Check the exposed fingers or toes immediately after applying the bandage and again after moving around for a few minutes. They should remain their normal color and temperature, with normal sensation. Compare them with the same area on the other side of the body if you are unsure.
Remove and reapply the bandage more loosely if you notice numbness, tingling, increased pain, cool skin, blue or pale fingers or toes, worsening swelling below the wrap, or a pulsing sensation. Do not wait for discomfort to pass on its own. A tight wrap can become more restrictive as swelling changes.
A bandage may also need adjustment if it slides down, wrinkles, or creates an indentation in the skin. Taking a minute to rewrap it evenly is safer and more comfortable than adding another tight layer over the first one.
When to Wear and Remove the Wrap
Wear time depends on why the bandage is being used and on guidance from your clinician. For many minor injuries, a wrap is used during activity or for short periods of support, then removed for bathing, skin checks, and rest. Unless a healthcare professional has told you otherwise, avoid sleeping in a compression wrap. You cannot reliably notice circulation changes while asleep.
Remove the bandage at least daily to inspect the skin. Look for redness, irritation, pressure marks, blisters, or changes in swelling. Keep the skin clean and dry before reapplying. Never wrap over an open wound unless a healthcare professional has directed you to do so and the wound has the appropriate dressing beneath it.
People with diabetes, poor circulation, peripheral artery disease, reduced sensation, heart failure, or a history of blood clots should ask a clinician before using compression. Compression can be helpful in specific care plans, but it is not appropriate for every person or every type of swelling.
Common Elastic Bandage Mistakes to Avoid
The most common mistake is treating tighter as better. An elastic bandage is meant to provide gentle, even support, not immobilize a joint or force swelling away. If strong immobilization is needed, a clinician may recommend a brace, splint, boot, or another support option.
Another frequent problem is wrapping only the painful spot. Starting below the area and wrapping upward gives the bandage a more stable base. It also helps avoid a tight edge directly over the swollen area. Finally, do not reuse a damp or dirty wrap. Wash reusable bandages according to their care instructions and allow them to dry fully before use.
Keeping a few correctly sized elastic bandages in a home first-aid supply can make minor injury care less stressful. Apply the wrap gently, check it often, and let comfort and circulation guide every adjustment.