A shower chair makes bathing safer, but it also spends every day in a warm, wet space where soap residue, body oils, and moisture can build up fast. Knowing how to sanitize shower chairs helps protect the person using it, especially when the chair is used during recovery, by an older adult, or by someone with limited mobility.
Regular care does not need to be complicated. The goal is to remove visible soil, reduce germs on high-touch surfaces, and let the chair dry thoroughly between uses. A clean chair is more comfortable to use, easier to inspect, and less likely to develop odors, mildew, or slippery buildup.
Clean First, Then Sanitize
Cleaning and sanitizing are related, but they are not the same job. Cleaning removes soap scum, dirt, hair, skin oils, and other visible residue. Sanitizing lowers the number of germs on a surface to a safer level. If a chair is visibly dirty, a sanitizing product cannot work as well until that buildup has been removed.
For most home shower chairs, a routine wash after use or every few days is enough to control residue. Sanitizing can be done weekly, after an illness, when multiple people use the chair, or whenever the chair has been exposed to body fluids. If a household member has a weakened immune system or an active infection, ask their healthcare provider for cleaning guidance that fits their situation.
Before using any product, check the chair's care instructions. Most shower chairs are made from plastic, aluminum, rubber, and foam or padded materials. Harsh cleaners may discolor plastic, wear down non-slip feet, damage padding, or corrode metal hardware over time.
What You Need to Sanitize a Shower Chair
Keep supplies simple and easy to reach. You will usually need:
- Mild dish soap or a gentle bathroom cleaner
- Warm water and a clean bucket, basin, or spray bottle
- A soft cloth, sponge, or soft-bristle brush
- An EPA-registered disinfectant or sanitizing product approved for bathroom surfaces
- Clean towels for drying
How to Sanitize Shower Chairs Step by Step
1. Move the chair to a safe cleaning area
If possible, take the chair out of the shower and place it in a tub, on a non-slip bathroom floor, or outdoors on a stable surface. This makes it easier to reach the legs, underside, and adjustment holes. If the person using the chair needs it daily, plan the cleaning for a time when they will not need to bathe right away.
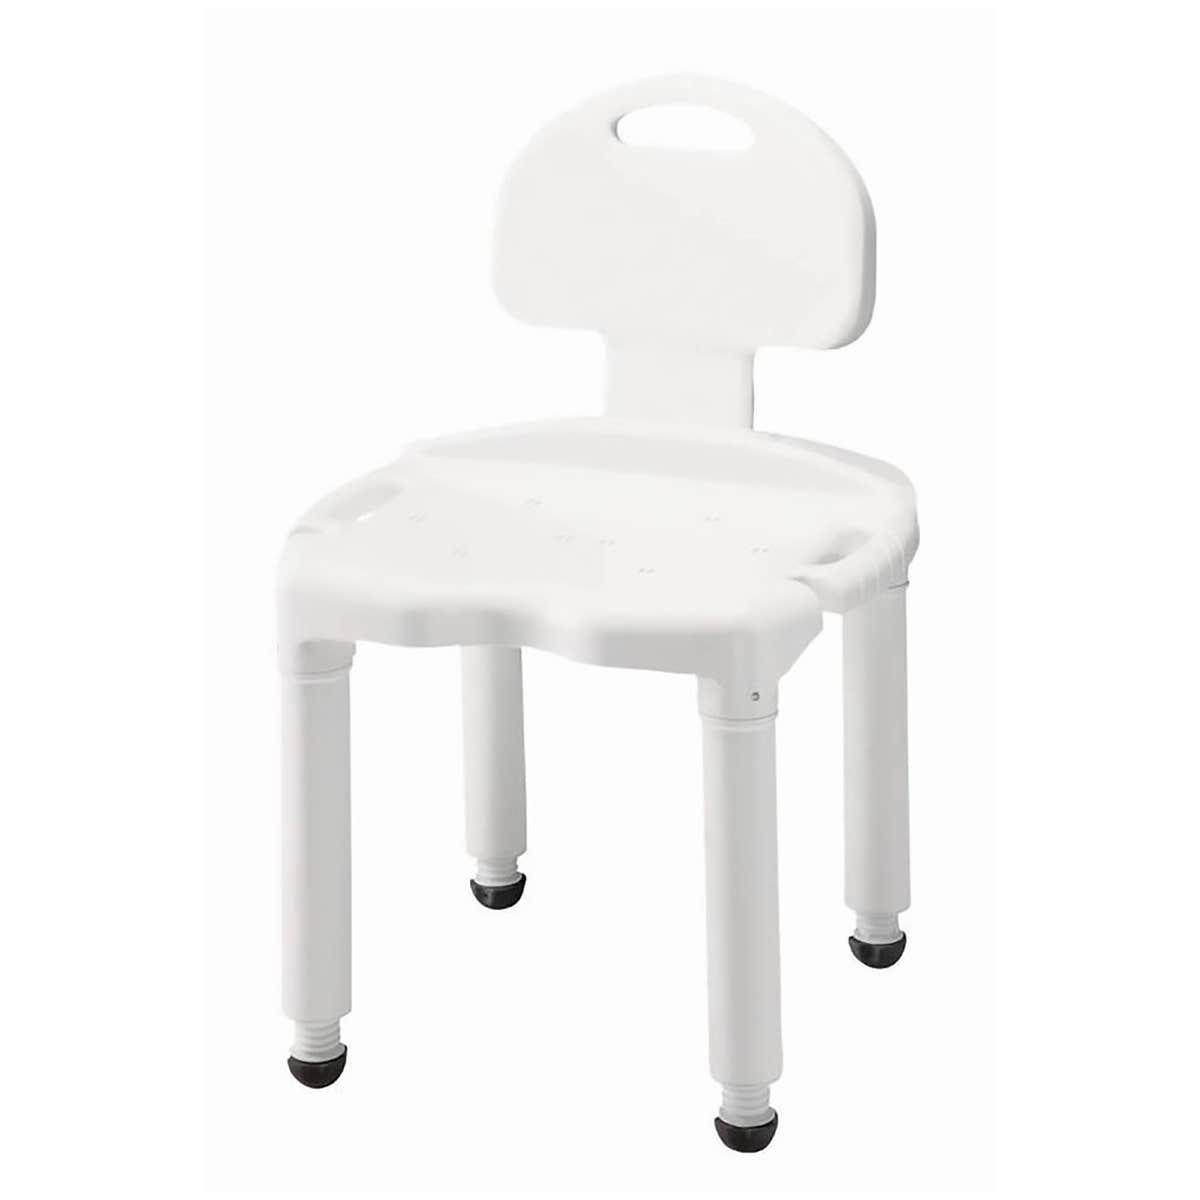
Check that the chair is stable before handling it. If it has removable arms, a backrest, a padded seat, or a detachable commode-style bucket, remove those parts according to the product instructions so each surface can be cleaned properly.
2. Rinse away loose debris
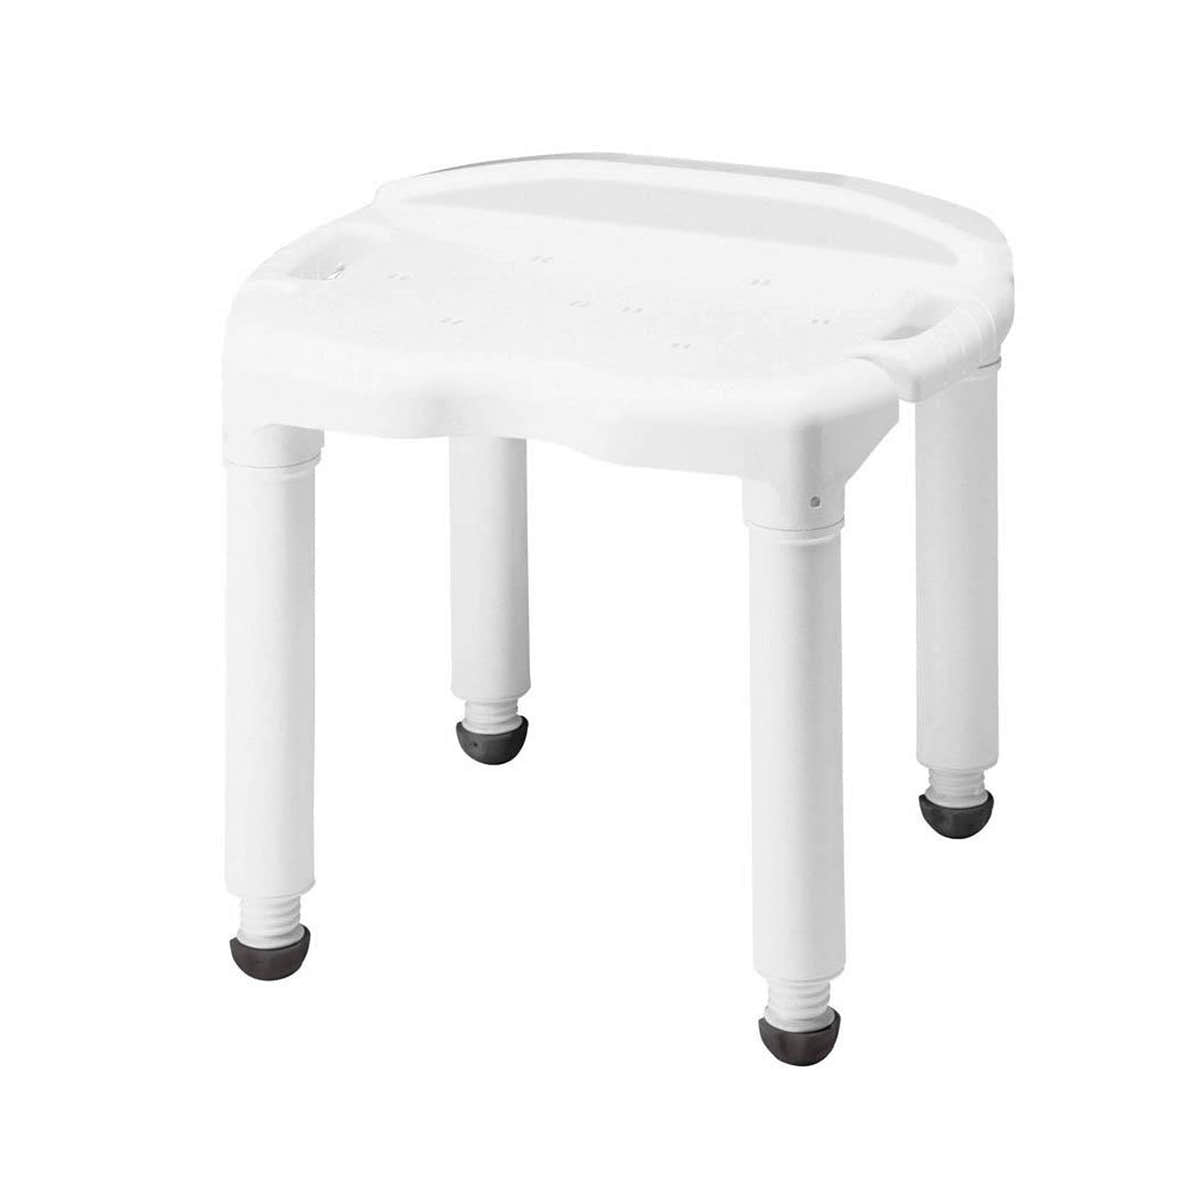
Use warm water to rinse off hair, loose soap residue, and visible debris. Pay attention to the seat openings, drainage holes, handgrips, leg joints, and the bottoms of the rubber feet. These areas often hold moisture and buildup even when the seat itself looks clean.
Do not use extremely hot water on plastic parts unless the manufacturer specifically says it is safe. High heat can warp some materials or weaken padded surfaces.
3. Wash every surface with mild soap
Mix mild soap with warm water, then wipe or gently scrub the chair from top to bottom. A soft brush is useful around textured plastic, screw heads, seat seams, and height-adjustment buttons. Clean the underside of the seat and each leg, not just the places that are easiest to see.
For stubborn soap scum, let the soapy water sit for a few minutes before scrubbing. Rinse thoroughly afterward. Any remaining soap film can make a shower chair slippery and may interfere with the next sanitizing step.
4. Apply a compatible sanitizing product
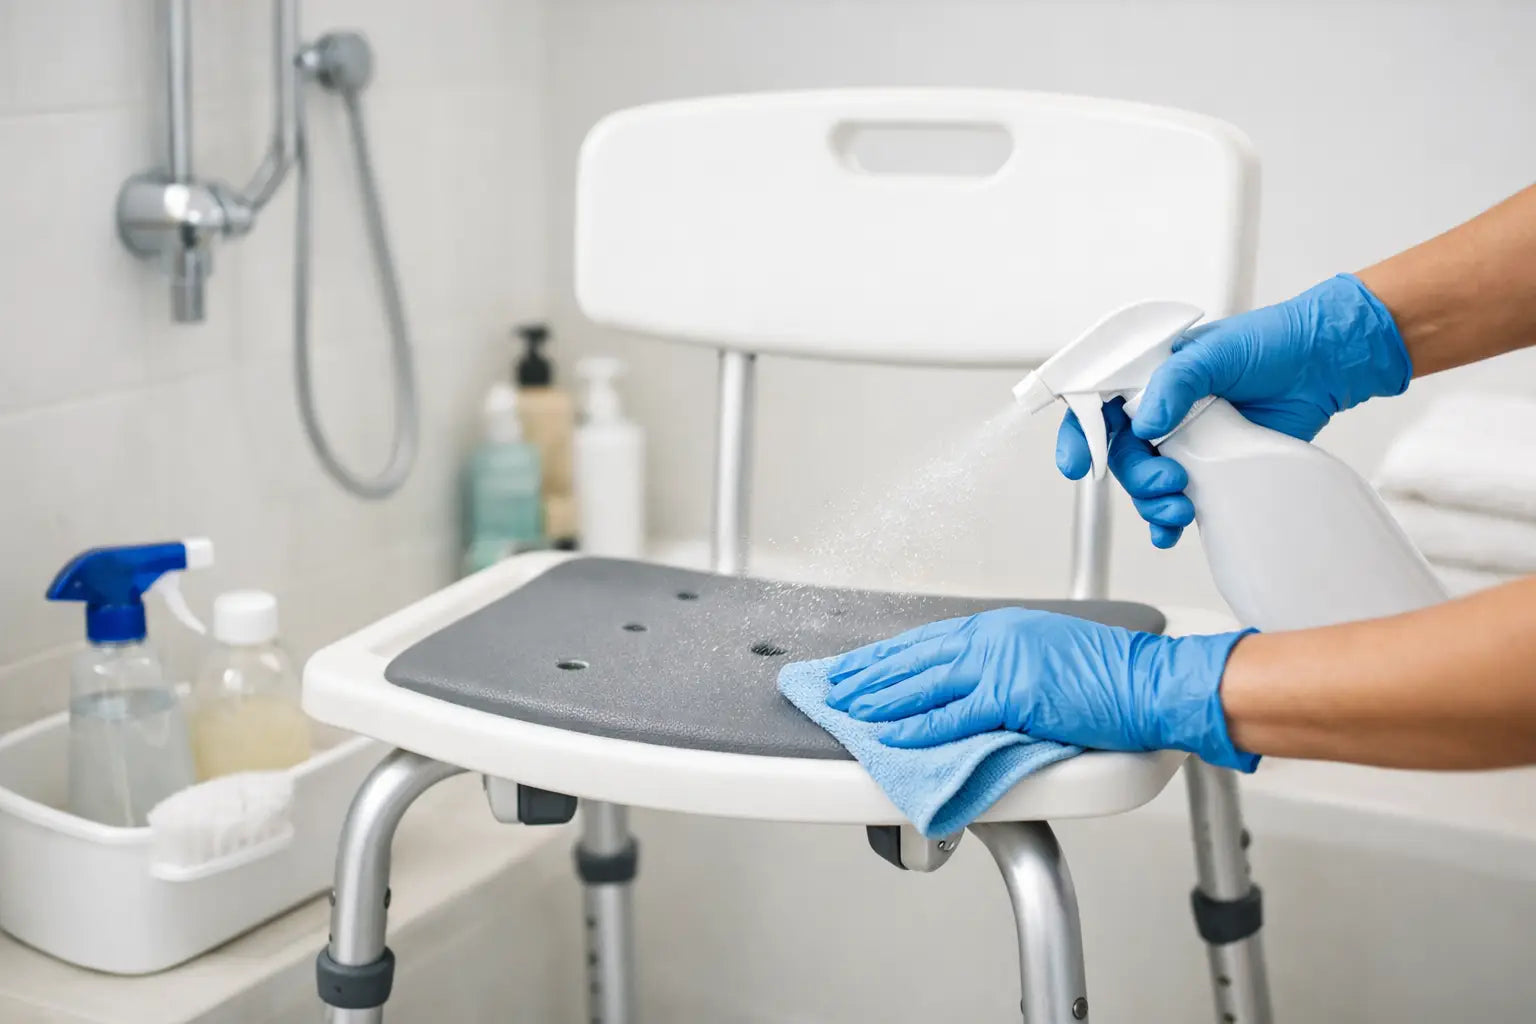
Once the chair is clean, apply your chosen product according to its label. A ready-to-use disinfectant spray or wipe is often convenient for plastic and nonporous surfaces. Make sure the product is intended for the material and is suitable for bathroom use.
Cover the seat, backrest, arms, handholds, adjustment controls, and legs. Do not forget the rubber feet, which contact the shower floor and can collect moisture and residue. The surface must stay wet for the full contact time listed on the product label. Wiping it dry too soon can reduce effectiveness.
Bleach solutions can sanitize some hard, nonporous surfaces, but they are not the best choice for every shower chair. They may fade colors, affect padded components, and contribute to corrosion on certain metal parts. Never mix bleach with ammonia, vinegar, alcohol, or any other cleaner. If you use bleach, follow the product label precisely, keep the bathroom ventilated, and rinse surfaces if the label or chair manufacturer directs you to do so.
5. Rinse when required and dry completely
Some disinfectants require a water rinse on surfaces that touch skin. Others can be left to air-dry. Read the label rather than assuming all products work the same way.
After sanitizing, wipe the chair with a clean towel and allow it to air-dry fully before returning it to the shower. Drying is not just a finishing touch. Moisture left under the seat, inside adjustment holes, or around rubber feet can encourage mildew and leave the chair feeling less secure.
Give High-Touch Areas Extra Attention
The parts a user grips during transfers deserve closer care. Armrests, handrails, the seat edge, and backrest may carry more skin oils and germs than the rest of the chair. If the chair has a padded seat, clean gently and inspect the cover for cracks, tears, or peeling material where moisture can get trapped.
Also inspect the rubber feet every time you clean. Remove hair and residue from the tread, and make sure each foot is firmly attached. A shower chair may look clean but still become unsafe if its feet are worn, split, or slick. Replace damaged parts when available, or replace the chair if it no longer sits level and stable.
Set a Cleaning Schedule That Fits the Household
The right schedule depends on how often the chair is used and who uses it. A person who showers daily may benefit from a quick rinse and towel dry after each use, with a more complete cleaning once a week. A chair shared by several people, used after incontinence episodes, or used during an illness may need cleaning and sanitizing more often.
A practical routine is to wipe down the seat and handholds after bathing, inspect the feet weekly, and perform a full wash and sanitizing treatment on a regular day each week. Keeping the chair dry between showers will often do as much to prevent odors and mildew as using a stronger cleaner.
When a Shower Chair Needs More Than Cleaning
Sanitizing cannot fix material that is breaking down. Replace a shower chair when plastic is cracked, aluminum is heavily corroded, padding cannot be cleaned, adjustment legs no longer lock securely, or the feet no longer grip the shower floor. These are safety concerns as well as hygiene concerns.
If you are choosing a replacement, look for a design that fits the user's bathroom and transfer needs. Drainage holes, easy-to-clean surfaces, adjustable legs, and replaceable non-slip tips can make routine care easier for both the user and caregiver. CartHealth offers home health essentials that can help support safer, more manageable daily routines.
A few minutes of regular care keeps a shower chair ready for the next use. Clean surfaces, dry feet, and a stable frame give the user one less thing to worry about when stepping into the shower.