A glucose check at home can take less than a minute, but the result may help guide a meal, activity, medication routine, or conversation with a healthcare provider. This home glucose monitor guide explains what to look for in a blood glucose meter, how to get dependable readings, and which supplies make everyday testing easier.
Home monitoring is often part of a diabetes care plan for people with type 1 diabetes, type 2 diabetes, gestational diabetes, or medication-related blood sugar concerns. Your provider should tell you when to test and what range is right for you. A meter gives useful information, but it does not replace medical guidance or emergency care.
Home Glucose Monitor Guide: Start With the Right Meter
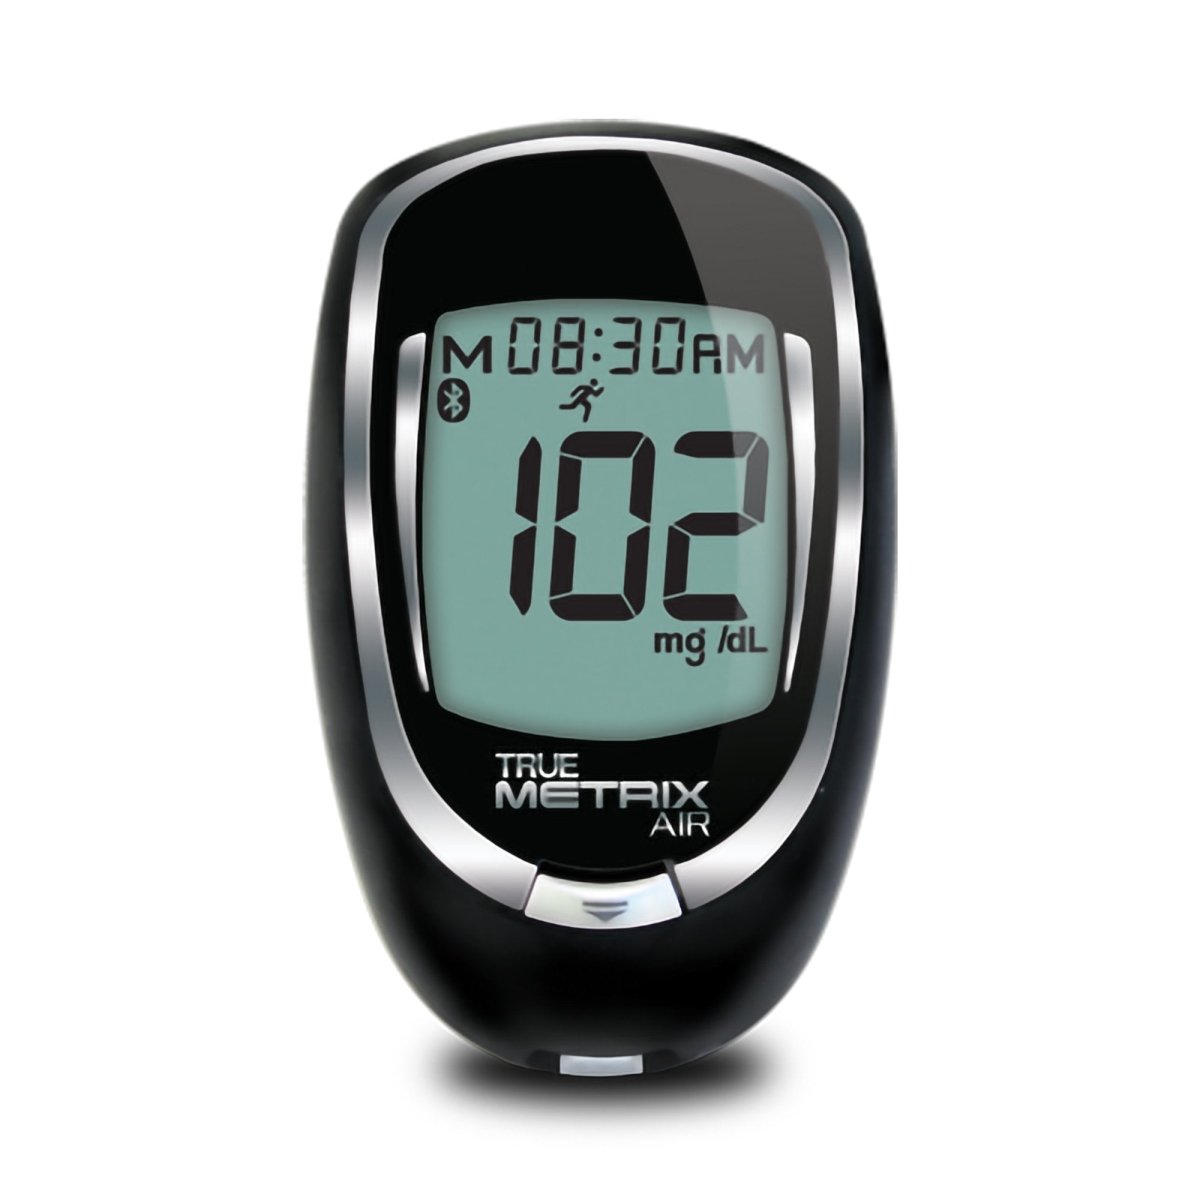
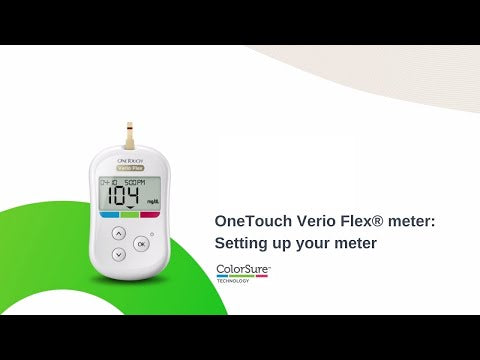
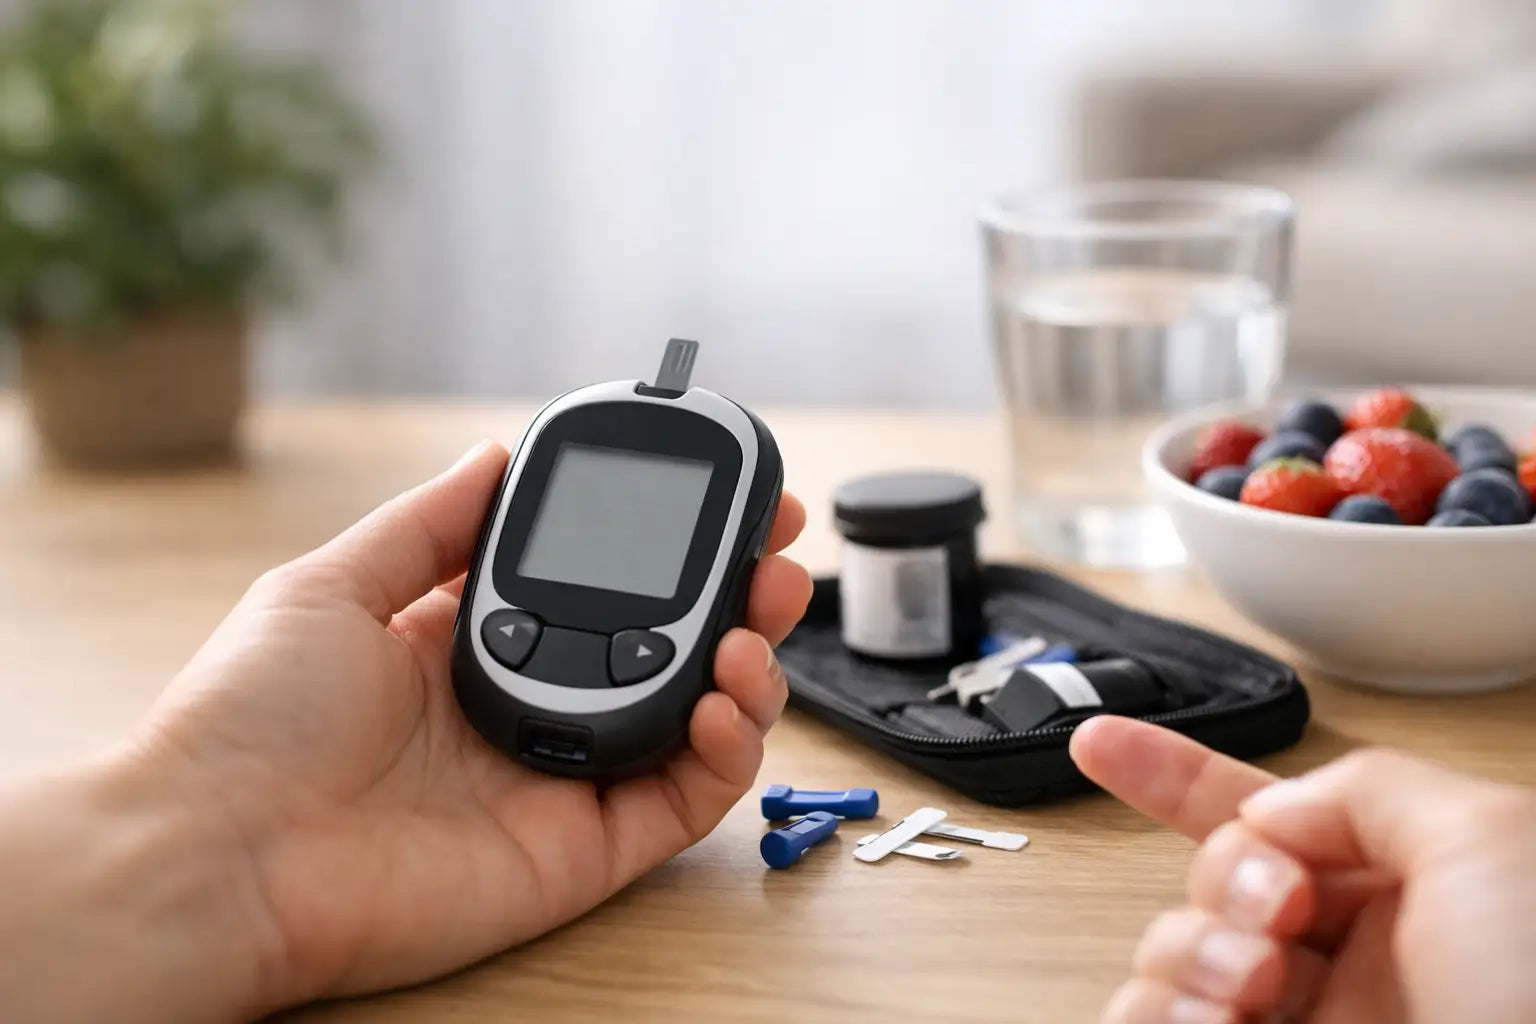
A standard blood glucose monitor, also called a glucose meter or glucometer, measures glucose from a small drop of blood. Most kits include a meter, lancing device, lancets, and a small supply of test strips. The meter reads a strip after blood is applied and displays the result in mg/dL, the measurement commonly used in the United States.
For most households, the best meter is not necessarily the one with the most features. It is the one you or your family member can use correctly and afford to keep supplied. Test strips are a recurring purchase, so check their cost and availability before choosing a meter. Each meter generally works only with its matching strip type.
Consider screen size, button simplicity, and strip handling. A large, backlit display can be helpful for older adults or anyone with low vision. Some meters use very small strips that may be difficult for people with arthritis, tremors, or reduced hand strength. Others have strip ports, audible prompts, memory storage, or optional app connectivity.
If your care plan requires frequent testing, look for a meter that stores results with dates and times. This can make it easier to identify patterns and share information at appointments. Bluetooth features can be useful, but they are optional. A straightforward meter and a written log can work very well when that feels more comfortable.
Blood Glucose Meters and Continuous Glucose Monitors
A finger-stick meter and a continuous glucose monitor, or CGM, are different tools. A standard meter checks glucose in a blood sample at a specific moment. A CGM uses a wearable sensor to estimate glucose levels in the fluid under the skin throughout the day and may show trends or alerts.
Some people use both. A finger-stick meter may be needed to confirm a CGM reading in certain situations, depending on the device instructions and provider recommendations. If you are choosing supplies for someone else, verify which system they use before ordering strips, sensors, or lancets.
Supplies to Keep With Your Meter
Testing goes more smoothly when the full setup is together in one consistent place. Keep your meter, compatible strips, lancing device, lancets, and a sharps container in a clean, dry area that is easy to reach. A small carrying case can help if testing happens at work, during travel, or while caring for a parent in another home.
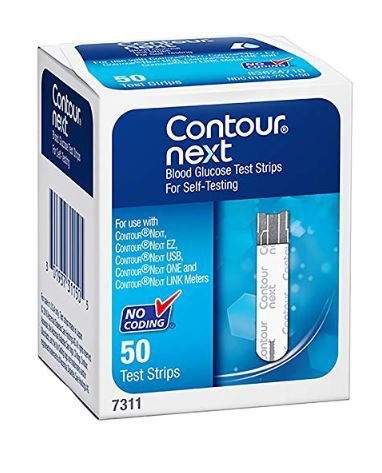
Test strips need special attention. Store them in their original tightly closed vial unless the product instructions say otherwise. Heat, humidity, direct sunlight, and expired strips can affect performance. Do not mix strips from different vial types, and do not use strips that look damaged or have been left out of the container.
Lancets are designed for single use. Reusing one may feel more painful because the tip becomes dull, and sharing lancing devices can create an infection risk. Dispose of used lancets in an approved sharps container or follow local rules for household sharps disposal. Do not place loose lancets in regular trash or recycling.
Many meters also use control solution to check that the meter and strips are working together as expected. You may use it when opening a new strip vial, after dropping the meter, when readings seem unusual, or whenever the manufacturer recommends it. Control solution does not replace routine meter maintenance, but it can help troubleshoot a concern.
How to Check Blood Sugar at Home
Good technique helps reduce avoidable variation. Follow the instructions included with your specific meter, since setup and strip handling can vary by brand. In general, the process is simple:
1. Wash your hands with soap and warm water, then dry them completely. Food, fruit, lotion, or moisture on the skin can affect a reading. Alcohol wipes may be used when soap and water are unavailable, but let the finger dry fully first.
2. Insert a fresh test strip and prepare the lancing device with a new lancet. Use the side of a fingertip rather than the center pad, which can be more sensitive.
3. Gently obtain a small blood drop and touch it to the test strip as directed. Avoid squeezing the finger hard, as this can make sampling more difficult.
4. Record the result if your meter does not save it automatically. Include useful context such as before breakfast, two hours after a meal, after exercise, or when symptoms occurred.
If a result does not match how you feel, wash and dry your hands, use a new strip, and test again. Check the strip expiration date and make sure the meter and strips were stored correctly. Repeated unexpected readings should be discussed with your healthcare provider rather than ignored.
Making Finger-Stick Testing More Comfortable
Small adjustments can make routine testing less stressful. Start with a lower lancing depth and increase it only if you are not getting enough blood. Warm hands often produce a sample more easily, so rubbing them together or rinsing with warm water can help.
Rotate fingers and use the sides of fingertips to avoid soreness. If testing is difficult because of vision changes, limited dexterity, or caregiver needs, choose supplies with easy-grip designs, clear displays, and simple instructions. A familiar routine often matters more than extra features.
Understanding Results Without Guesswork
There is no one blood sugar target that fits every person. Targets may depend on diabetes type, age, pregnancy, medications, risk of low blood sugar, and other health conditions. Your provider may give you different goals for fasting readings, before meals, after meals, bedtime, or exercise.
For many nonpregnant adults with diabetes, commonly discussed goals may include a reading of 80 to 130 mg/dL before meals and less than 180 mg/dL about one to two hours after the start of a meal. These are general reference points, not personal treatment instructions. Pregnant people, children, older adults, and people with other health needs may have different targets.
Low blood sugar can cause shakiness, sweating, hunger, headache, confusion, irritability, or a fast heartbeat. High blood sugar may cause thirst, frequent urination, fatigue, blurry vision, or nausea. Symptoms and readings both matter. Follow the plan provided by your care team for treating low or high readings, and seek urgent medical help for severe symptoms, confusion, loss of consciousness, vomiting, trouble breathing, or suspected diabetic ketoacidosis.
Ordering Diabetes Testing Supplies for Home
A dependable supply routine helps prevent missed checks caused by an empty strip vial or worn-out lancet device. Before reordering, confirm the meter brand and exact strip name. Similar-looking products are not always compatible.
It can be practical to keep an unopened backup vial of test strips, provided you can use it before expiration. Check how many tests are usually completed each day, then estimate how long a box will last. Caregivers may want to review supplies before a trip, a hospital discharge, or a change in living arrangements.
CartHealth offers diabetes care essentials alongside other home health categories, which can simplify recurring purchases for households managing more than one care need. When ordering, review package counts, expiration dates when available, and whether your insurance or healthcare provider requires a specific meter system.
When to Call Your Healthcare Provider
Call your provider when readings are repeatedly outside your established range, when your treatment plan no longer seems to match your routine, or when you are unsure how to respond to a pattern. Bring your meter or glucose log to appointments when possible. Details about meals, medication timing, illness, sleep, and activity can make the numbers more useful.
A home glucose monitor is most helpful when it fits into real life: easy to use, stocked with compatible supplies, and paired with a plan you understand. Set up a simple testing station, keep your next supply order in mind, and let each reading be one more piece of information that supports everyday care.