
A cane that is too tall can force your shoulder upward. One that is too short can make you bend forward and place extra strain on your back, wrist, and hip. Learning how to fit a cane correctly takes only a few minutes, but it can make a real difference in comfort, balance, and confidence while moving around the house or out in the community.
The right fit is not just about the number on the adjustment button. Your usual shoes, the reason you need support, your posture, and the type of cane all matter. If you have recently had surgery, have significant weakness, frequent falls, or new pain, ask your doctor, physical therapist, or occupational therapist for individualized guidance.
How to Fit a Cane at the Correct Height
For most adults, the top of the cane handle should line up with the crease on the inside of your wrist when you are standing upright with your arms relaxed at your sides. Wear the shoes you normally use for walking before measuring. A change from supportive sneakers to slippers or low-heeled shoes can affect cane height more than many people expect.
Stand on a level surface with your shoulders relaxed. Let the arm that will hold the cane rest naturally by your side. Place the cane beside that foot, with the tip flat on the floor. Adjust the handle until it reaches your wrist crease.
When you grip the handle, your elbow should have a gentle bend, usually about 15 to 30 degrees. You should not have to hunch your shoulder, lean sideways, or reach down to use the cane. A small elbow bend lets your arm help absorb weight and gives you better control when you step.
Adjusting an Aluminum or Folding Cane
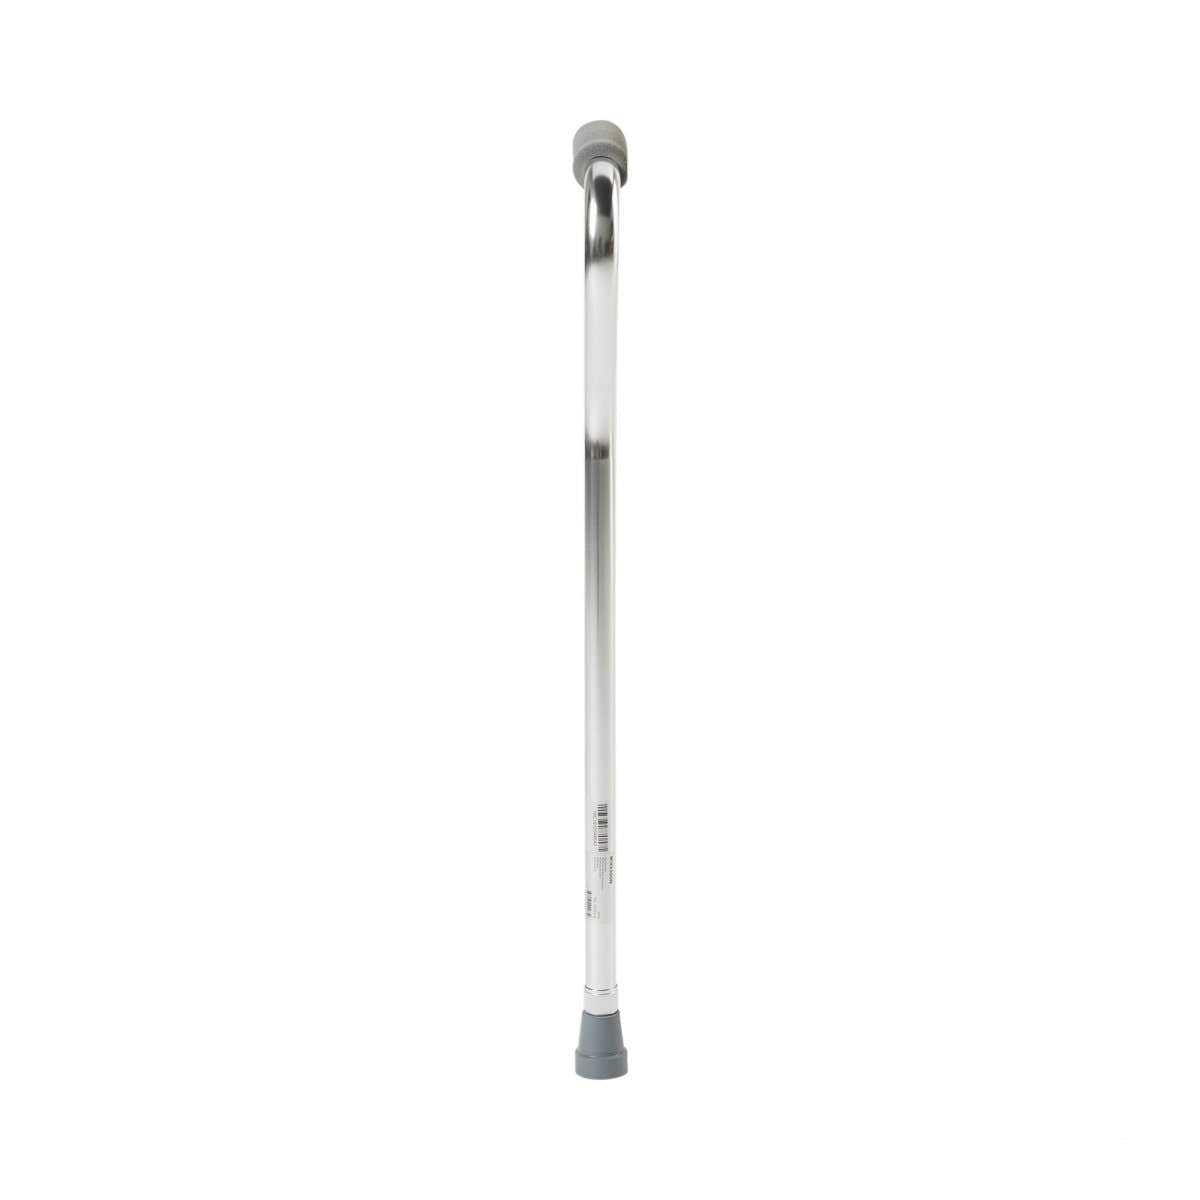
Most adjustable canes have a spring-loaded push button near the lower shaft. Press the button, slide the lower section up or down, and allow the button to click firmly into the chosen height hole. Check that the button is fully visible through the hole before putting weight on the cane.
Test the height by taking several slow steps indoors. If your shoulder rises, your wrist feels sharply bent, or you feel like you are reaching for the handle, adjust again. A one-inch change can be noticeable. Never use a cane with a bent shaft, loose handle, damaged locking button, or cracked tip.
Which Hand Should Hold the Cane?
A cane is generally held in the hand opposite the weaker, painful, or injured leg. For example, if your right knee or hip needs support, hold the cane in your left hand. This placement helps transfer some load away from the affected side and supports a more natural walking pattern.
It can feel counterintuitive at first. People often want to hold the cane on the same side as the painful leg because that hand feels closer to the problem. But holding it on the opposite side usually provides better balance and lets the cane move with the leg that needs support.
There are exceptions. A clinician may recommend a different setup if you have weakness in one arm, hand pain, limited shoulder movement, or a neurological condition. Use the method your care team has prescribed when one is available.
How to Walk With a Properly Fitted Cane
Start in a clear area of your home where you can focus on the movement. Wear secure, non-slip footwear, and remove loose rugs, cords, pet toys, and other trip hazards from your path.
Move the cane forward a short distance at the same time as your weaker or more painful leg. Then step through with your stronger leg. The usual sequence is: cane and affected leg together, then stronger leg.
Keep the cane close enough that you do not have to reach forward or lean your body toward it. Its job is to provide a stable point of contact, not to pull you ahead. Take shorter, controlled steps while you are getting used to the rhythm.
Avoid placing the cane too far out to the side. A cane angled excessively away from your body may feel stable for a moment, but it can put strain on your wrist and shoulder and does not give the support you need. Keep the tip on the floor before shifting weight onto it.
Sitting Down and Standing Up
Do not use the cane as your only support when rising from a chair. Back up until you feel the chair against the backs of your legs. Reach for the chair arms or a stable surface, then sit down slowly. Keep the cane within reach after you are seated.
To stand, push up from the chair arms or seat first. Get your balance before taking hold of the cane and walking. This is especially helpful after sitting for a while, when dizziness or stiffness can make the first few steps less steady.
Using a Cane on Stairs
Stairs require more attention, and a handrail should be used whenever one is available. Hold the railing with one hand and the cane with the other. If you cannot safely use both, ask a clinician about the safest option for your home.
When going up, lead with the stronger leg, then bring up the weaker leg and cane. When going down, place the cane down first, then step down with the weaker leg, followed by the stronger leg. A common reminder is “up with the good, down with the bad.” Go one step at a time unless your healthcare professional has shown you another method.
Choose a Cane That Matches Your Needs
Correct height helps, but the cane style also needs to suit your level of balance and daily activities. A standard single-tip cane is lightweight and works well for mild support needs. It is easy to use on stairs and in tighter spaces, but it offers less stability than a wider base.
Quad canes have four small feet at the bottom and can provide a broader base of support. They may be useful for people with more significant weakness or balance concerns, although they can be heavier and less convenient on stairs or uneven ground. The wider base must be oriented correctly, with the larger feet generally facing away from the user, according to the manufacturer’s instructions.
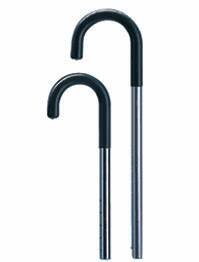
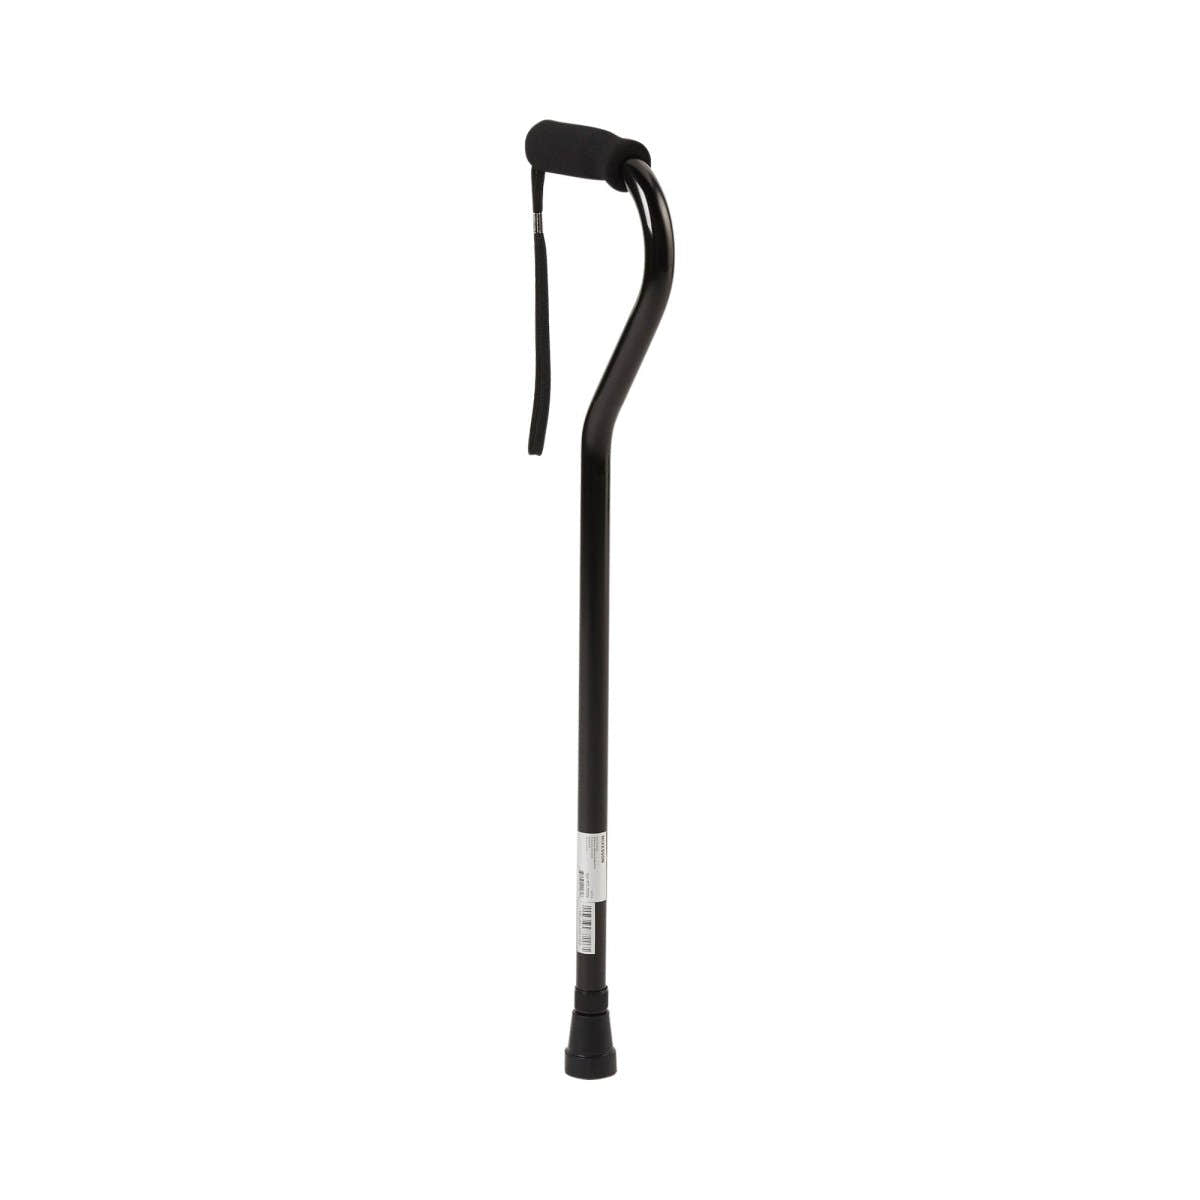
Offset-handle canes place the user’s weight more directly over the shaft and are often a practical choice for regular use. Derby-style handles may feel more comfortable for casual walking or for people who prefer a curved grip. If hand arthritis is a concern, look for a cushioned or ergonomically shaped handle that does not force your fingers into a painful position.
A cane is not always enough support. If you need to place substantial weight through the device, feel unsteady despite correct sizing, or have fallen recently, a walker may be a safer choice. The best mobility aid is the one that provides enough support for your current needs, not simply the smallest or easiest one to carry.
Check the Cane Tip and Handle Regularly
The rubber tip is a small part with a big safety role. Replace it when the tread is worn smooth, the rubber is cracked, the tip feels loose, or the bottom has worn unevenly. A worn tip can slip on tile, wet pavement, or smooth flooring.
Keep the tip clean and dry, especially after walking outside. Check the handle for looseness and make sure adjustment hardware remains secure. Folding canes should be fully opened and locked before every use. Store your cane where it is easy to reach from the bed, favorite chair, and bathroom, rather than leaning it where it may fall or create a trip hazard.
Common Cane-Fitting Mistakes to Avoid
The most common mistake is setting the cane based on a guess rather than measuring while wearing regular shoes. Another is using a cane that belonged to someone else without changing the height. A cane can be technically adjustable but still be wrong for your body.
Leaning heavily over the cane, carrying it on the same side as a painful leg without clinical guidance, and walking with a damaged tip can also reduce its benefit. If cane use causes new shoulder, hand, wrist, back, or hip pain, stop and reassess the fit. Persistent pain, worsening balance, or a change in mobility deserves a conversation with a healthcare professional.
A properly fitted cane should feel like dependable support, not something you have to fight with on every step. Take time to set the height, practice the walking pattern in a safe space, and inspect the cane before regular use. Small adjustments can help make everyday movement at home feel steadier and more manageable.